 I’m a bit behind with telling you about my bathroom remodel progress. This post will give you a glimpse at the layout of my new bathroom.
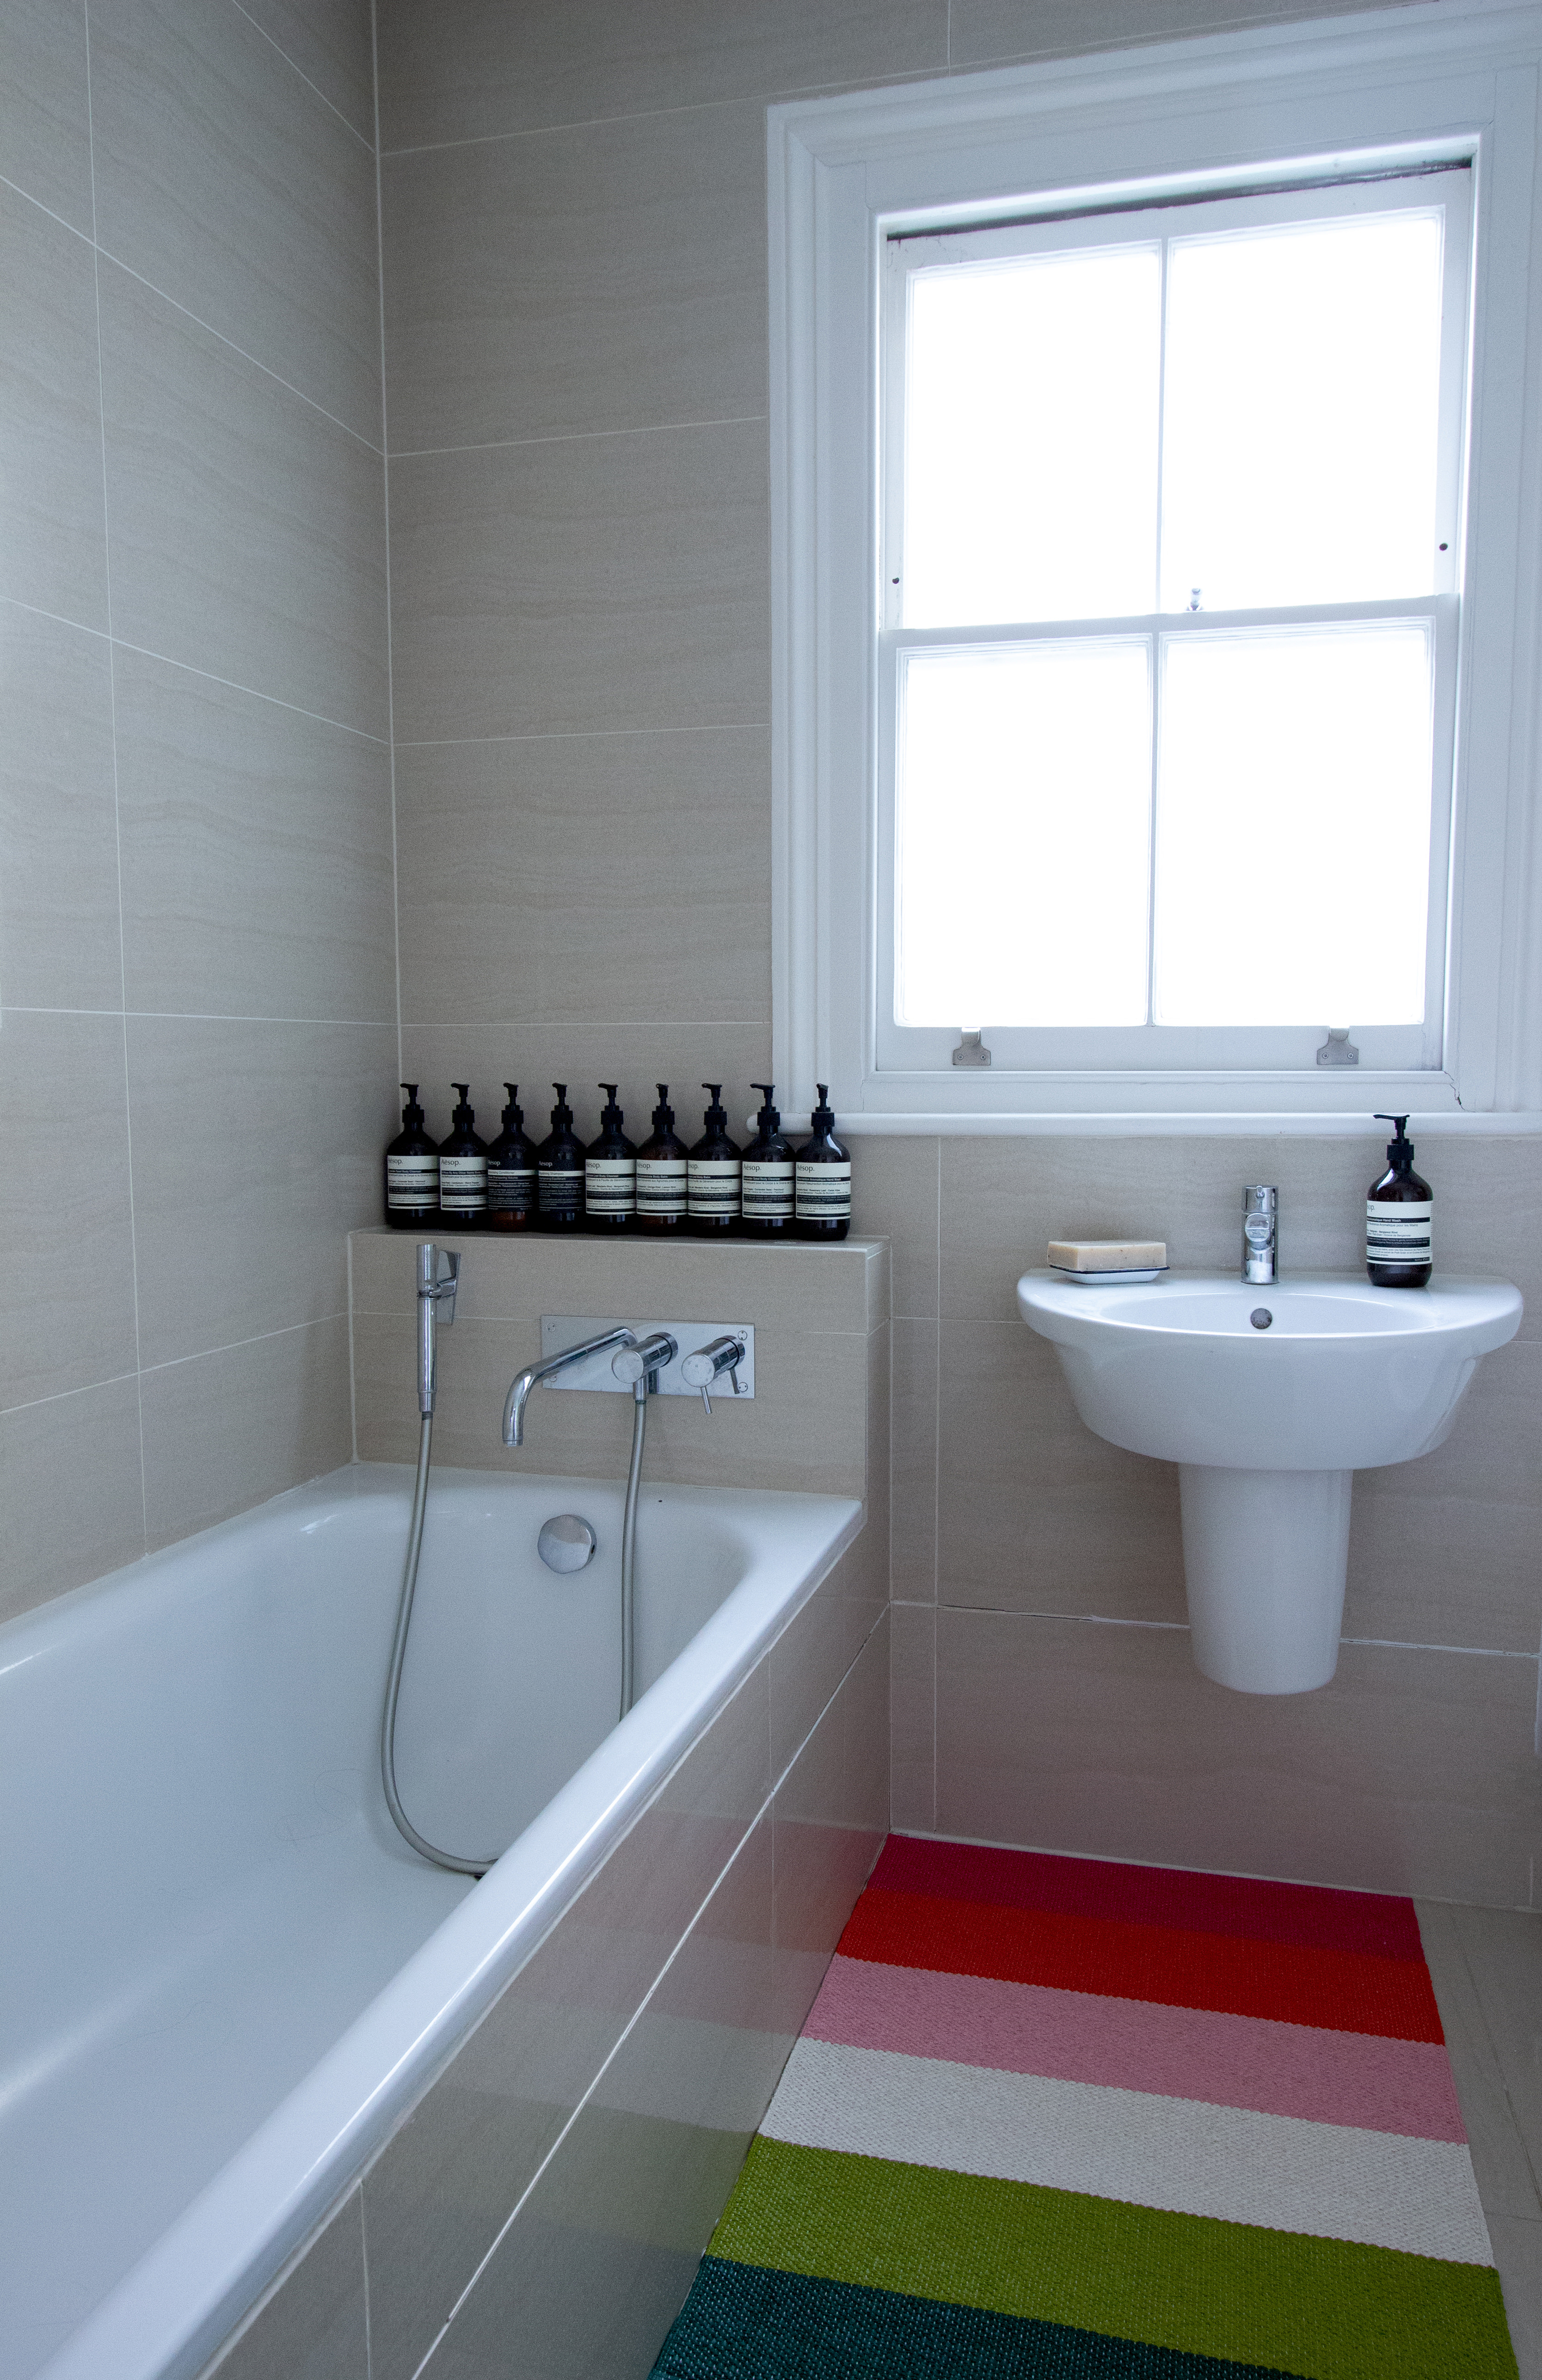
The image above is of course my old bathroom.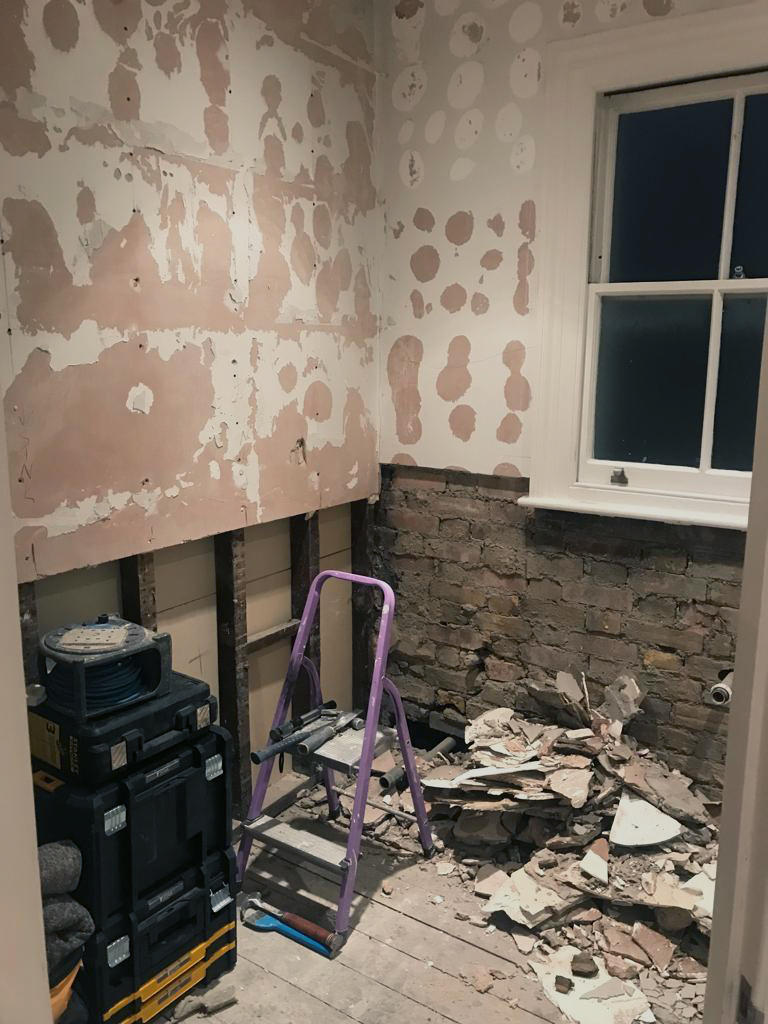 Then it was all gone!
 This bathroom remodel is starting to look a little better now right?
Samuel, my builder (who actually is also an architect), has placed some plasterboard over the new pipework.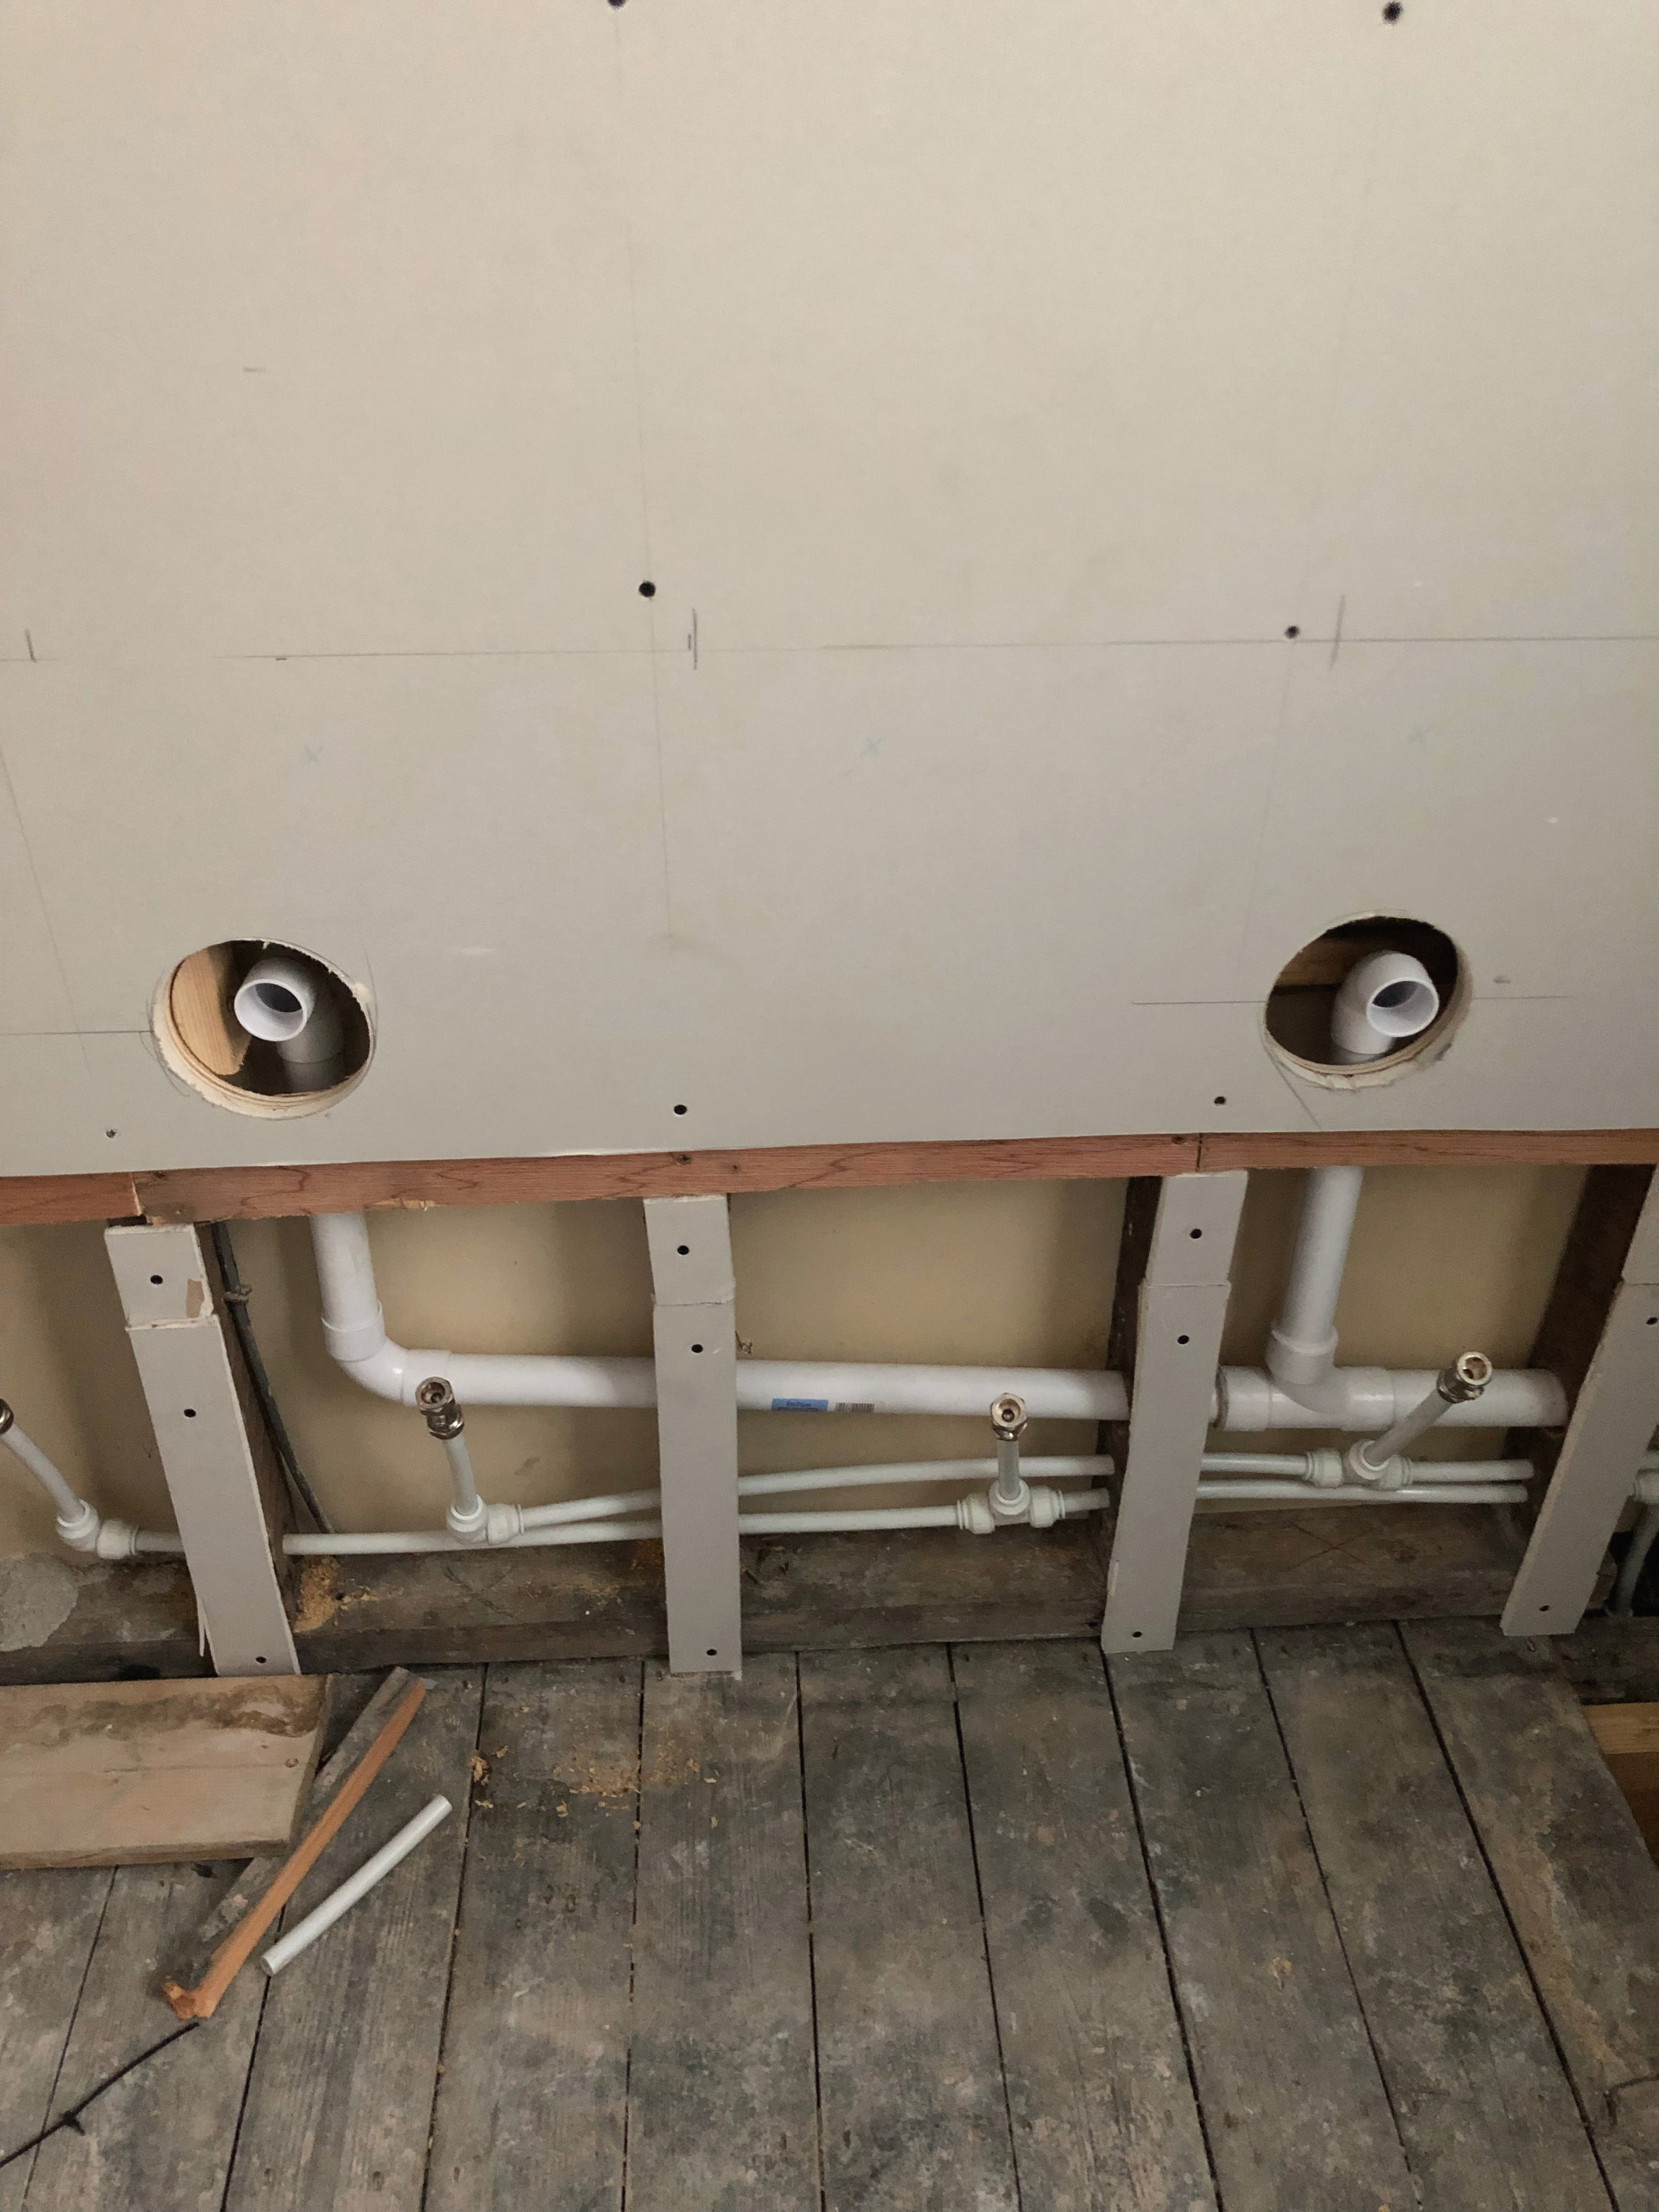 Peeping out from the plaster board is the two waste pipes for my basins. Can you also see the hot and cold water pipes too?
You can imagine the layout a little now right?
Yes, I am having double basins. One for my daughter and one for me, because this is our bathroom.
The man and boy of the house have their own shower room upstairs. To the far side wall of my bathroom is the waste pipe for my bath tub.
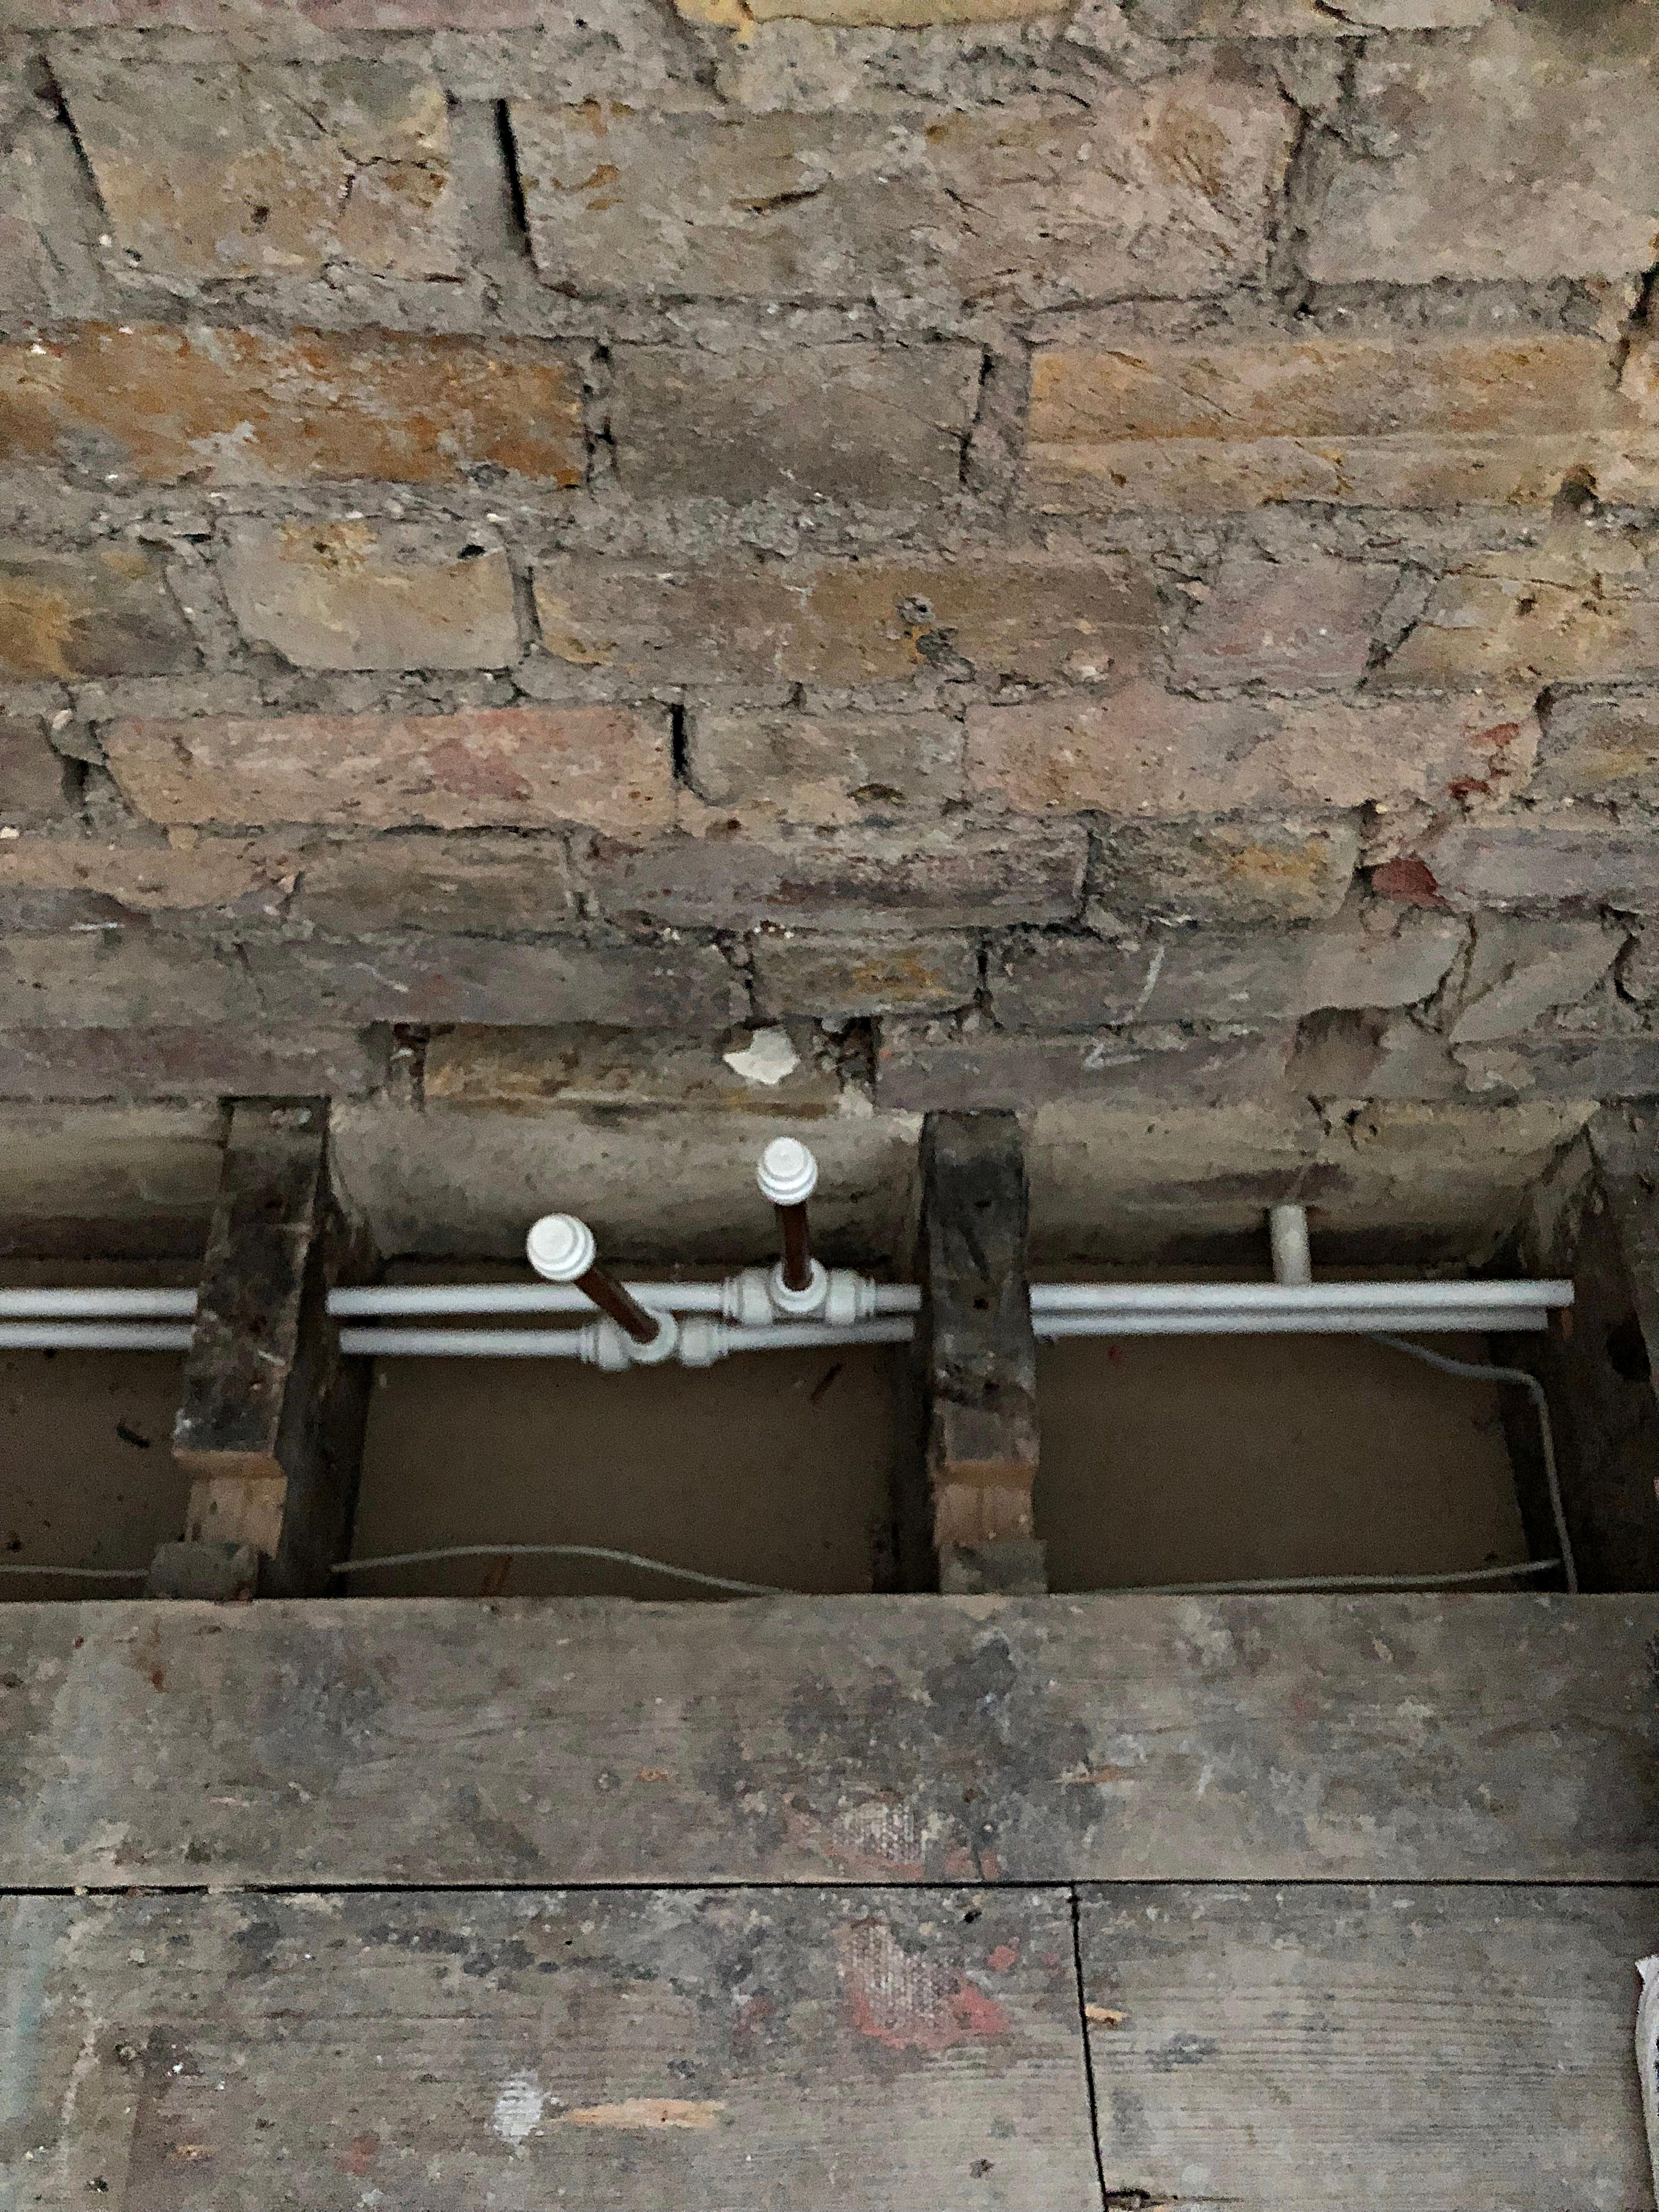 Here you can see the new cold and hot water pipes for the bath tub.
Are you starting to get a 3 dimensional image of my new bathroom?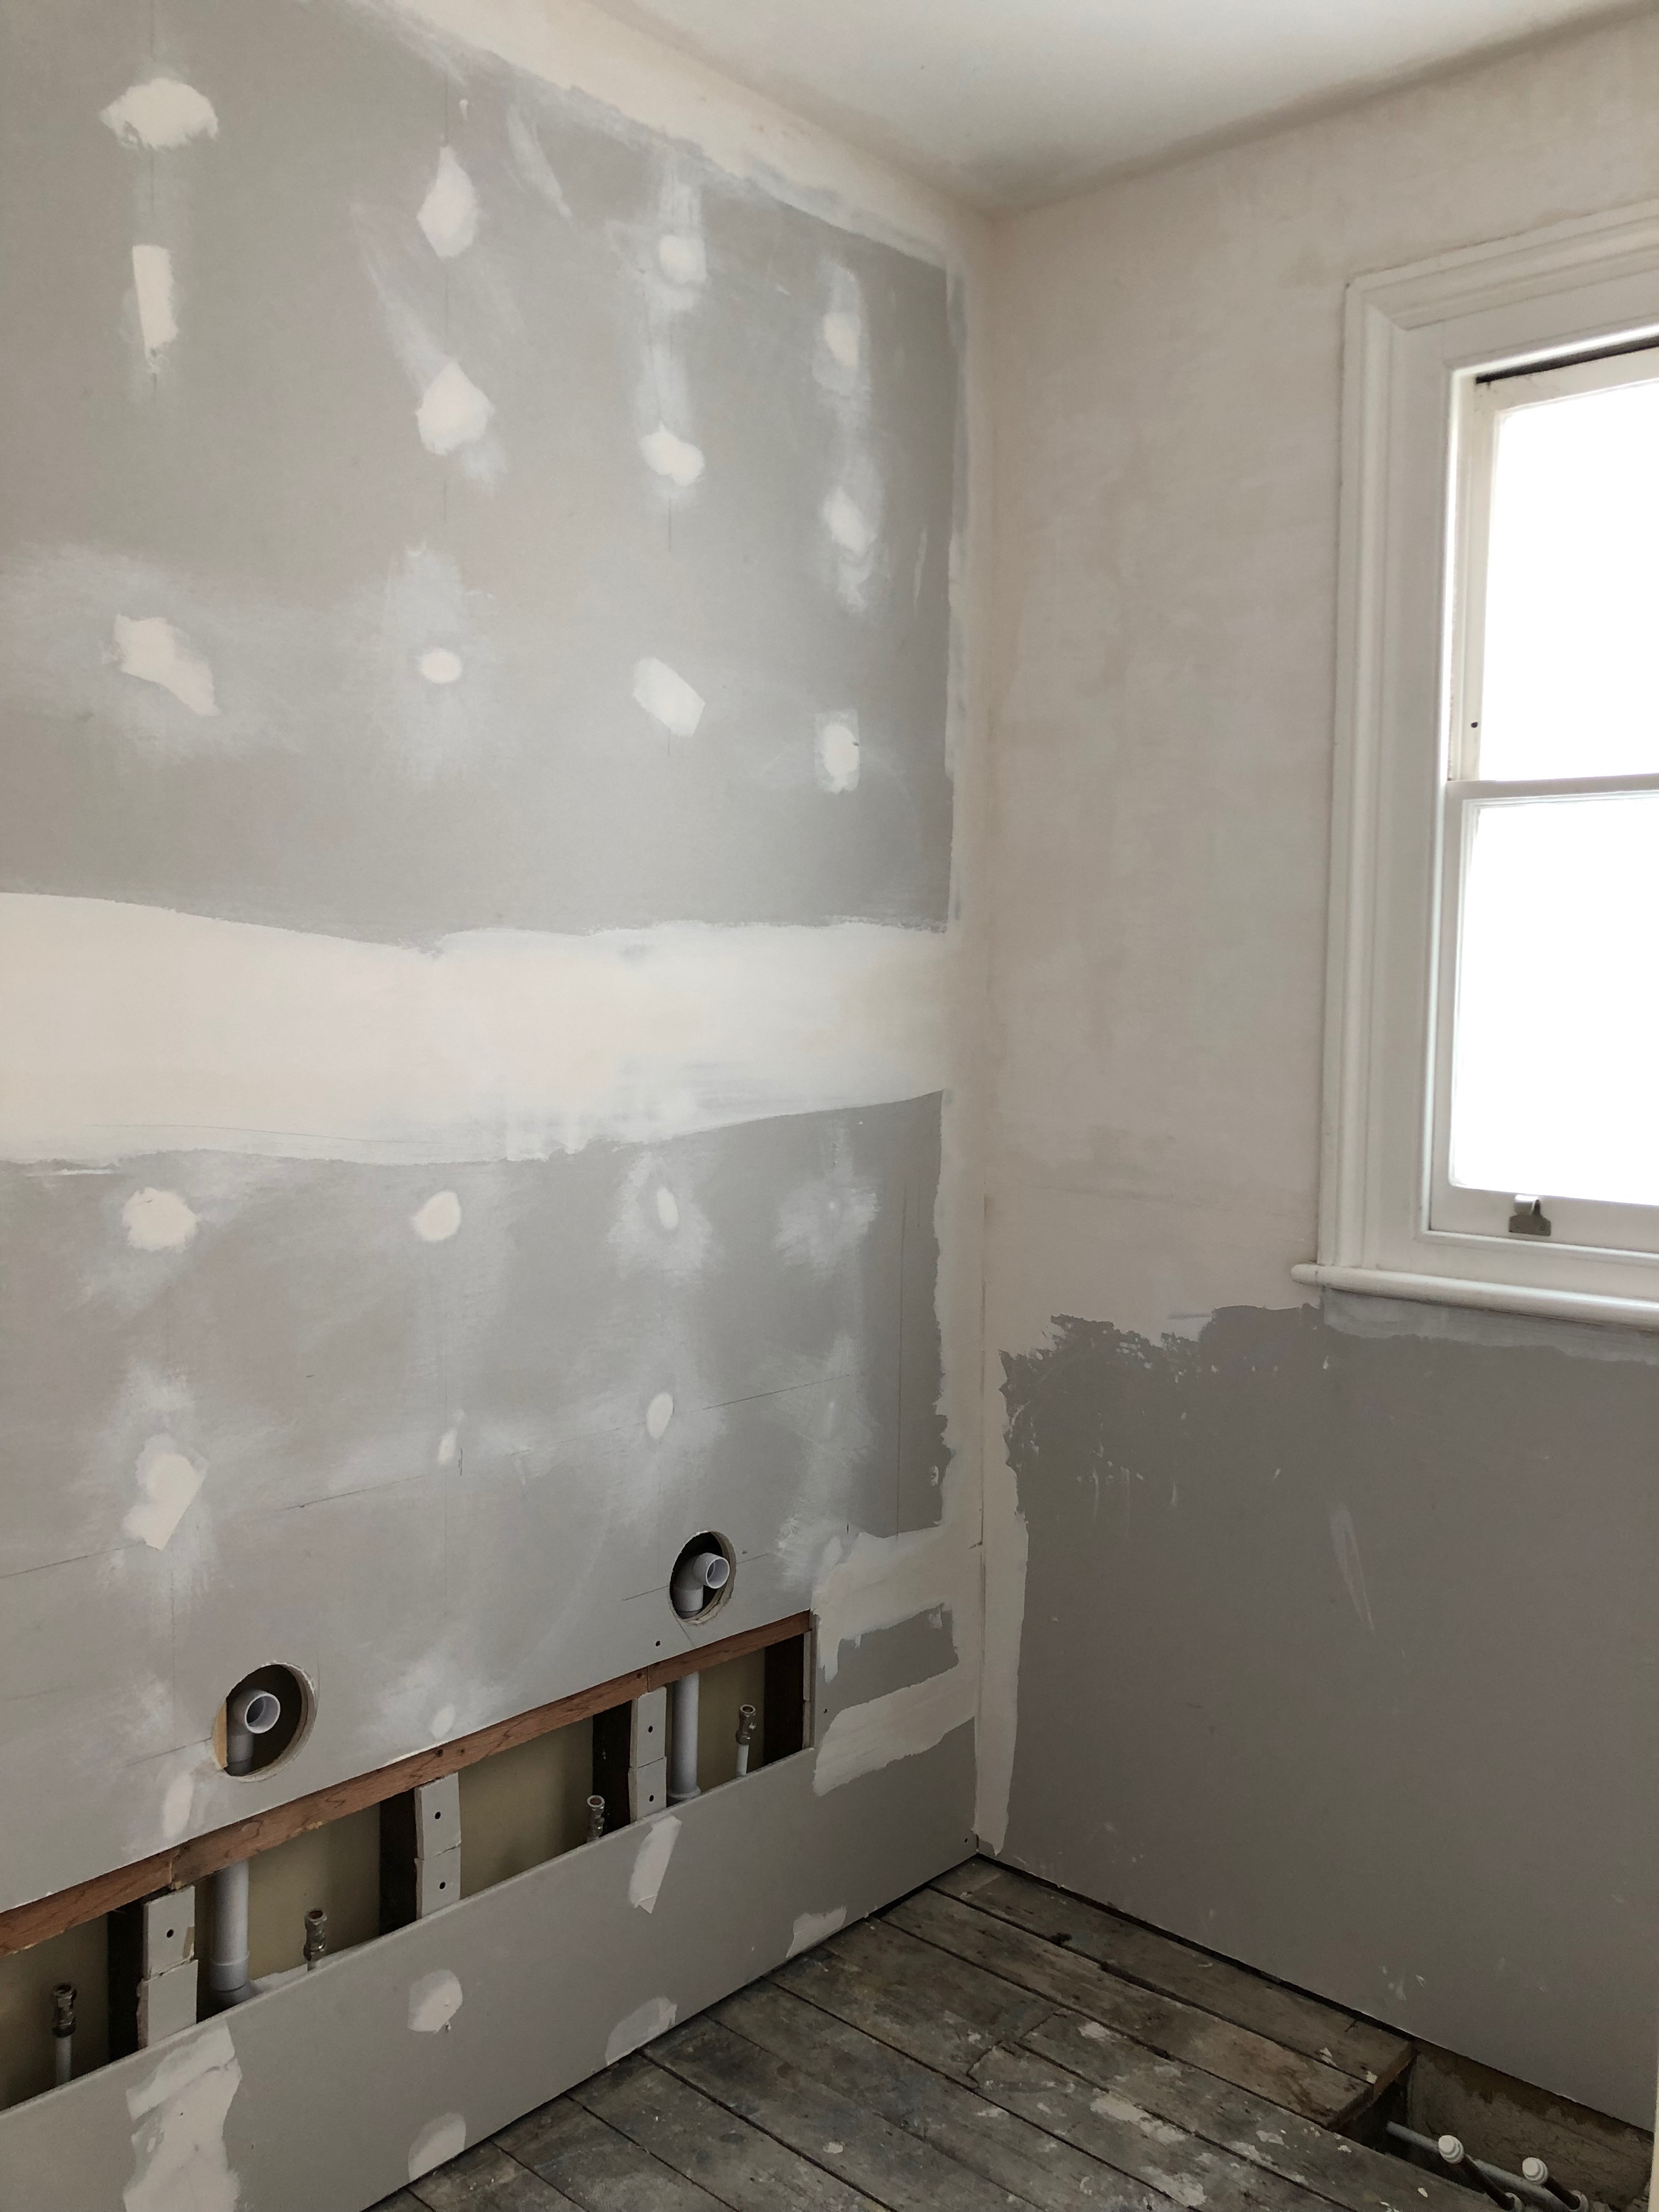 More work has since been done, sealing the joints of the board, sanding and plastering the old wall.
Ceiling has also been sanded and made good.
I’m happy to work with Ripples bathroom on this project. They have helped me design the bathroom configuration and pick some of the bathroom furniture.
It is also so crucial to have a good builder with an eye for design. With thanks to Samuel from Mead Architecture and design for helping me through my indecisions. I will be showing you some of those design decisions and indecisions in this bathroom remodel soon. I’m so excited about this whole project and fingers crossed it will turn out great.
Have a very lovely day.
( All photography are my own)