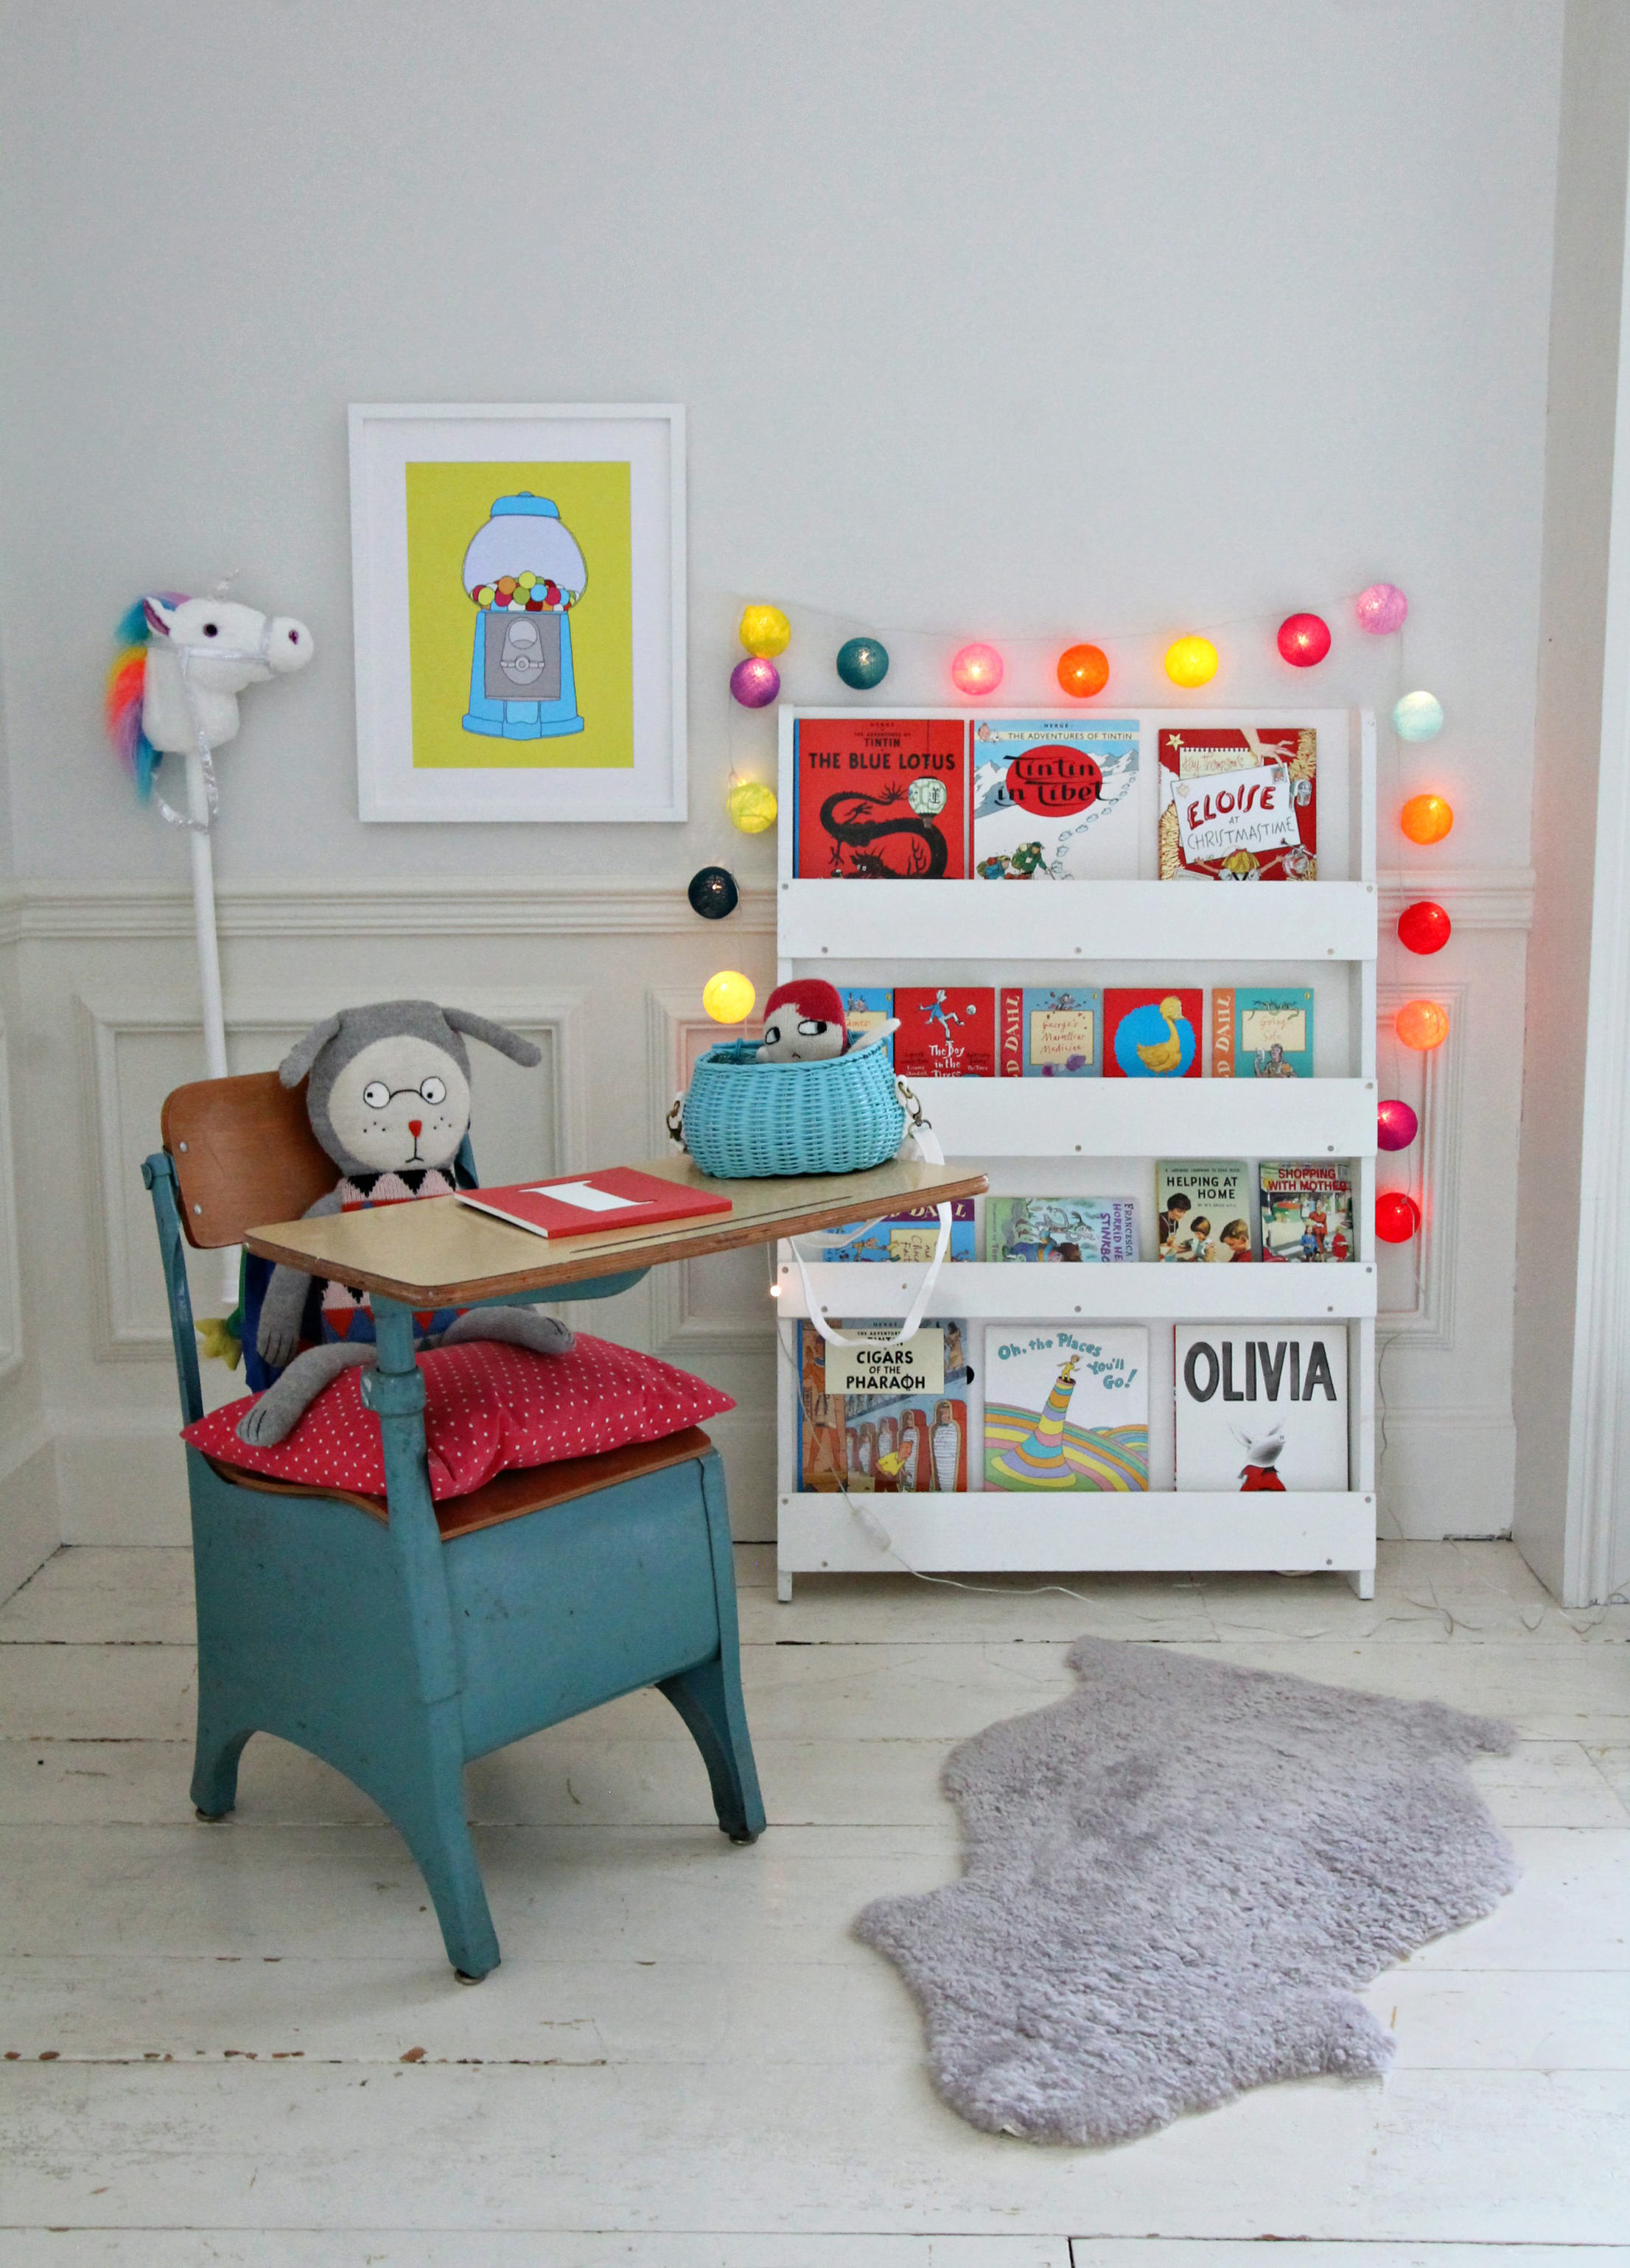
 How to decorate a child’s reading corner without holes in the wall.
I’ve always wanted to create a child’s reading corner, so I thought I’d style one up using some of my son’s old furniture from storage.
Here is my transformed kid’s corner. What do you think?
I’ve used a variety of Command products to help me with my wall styling. 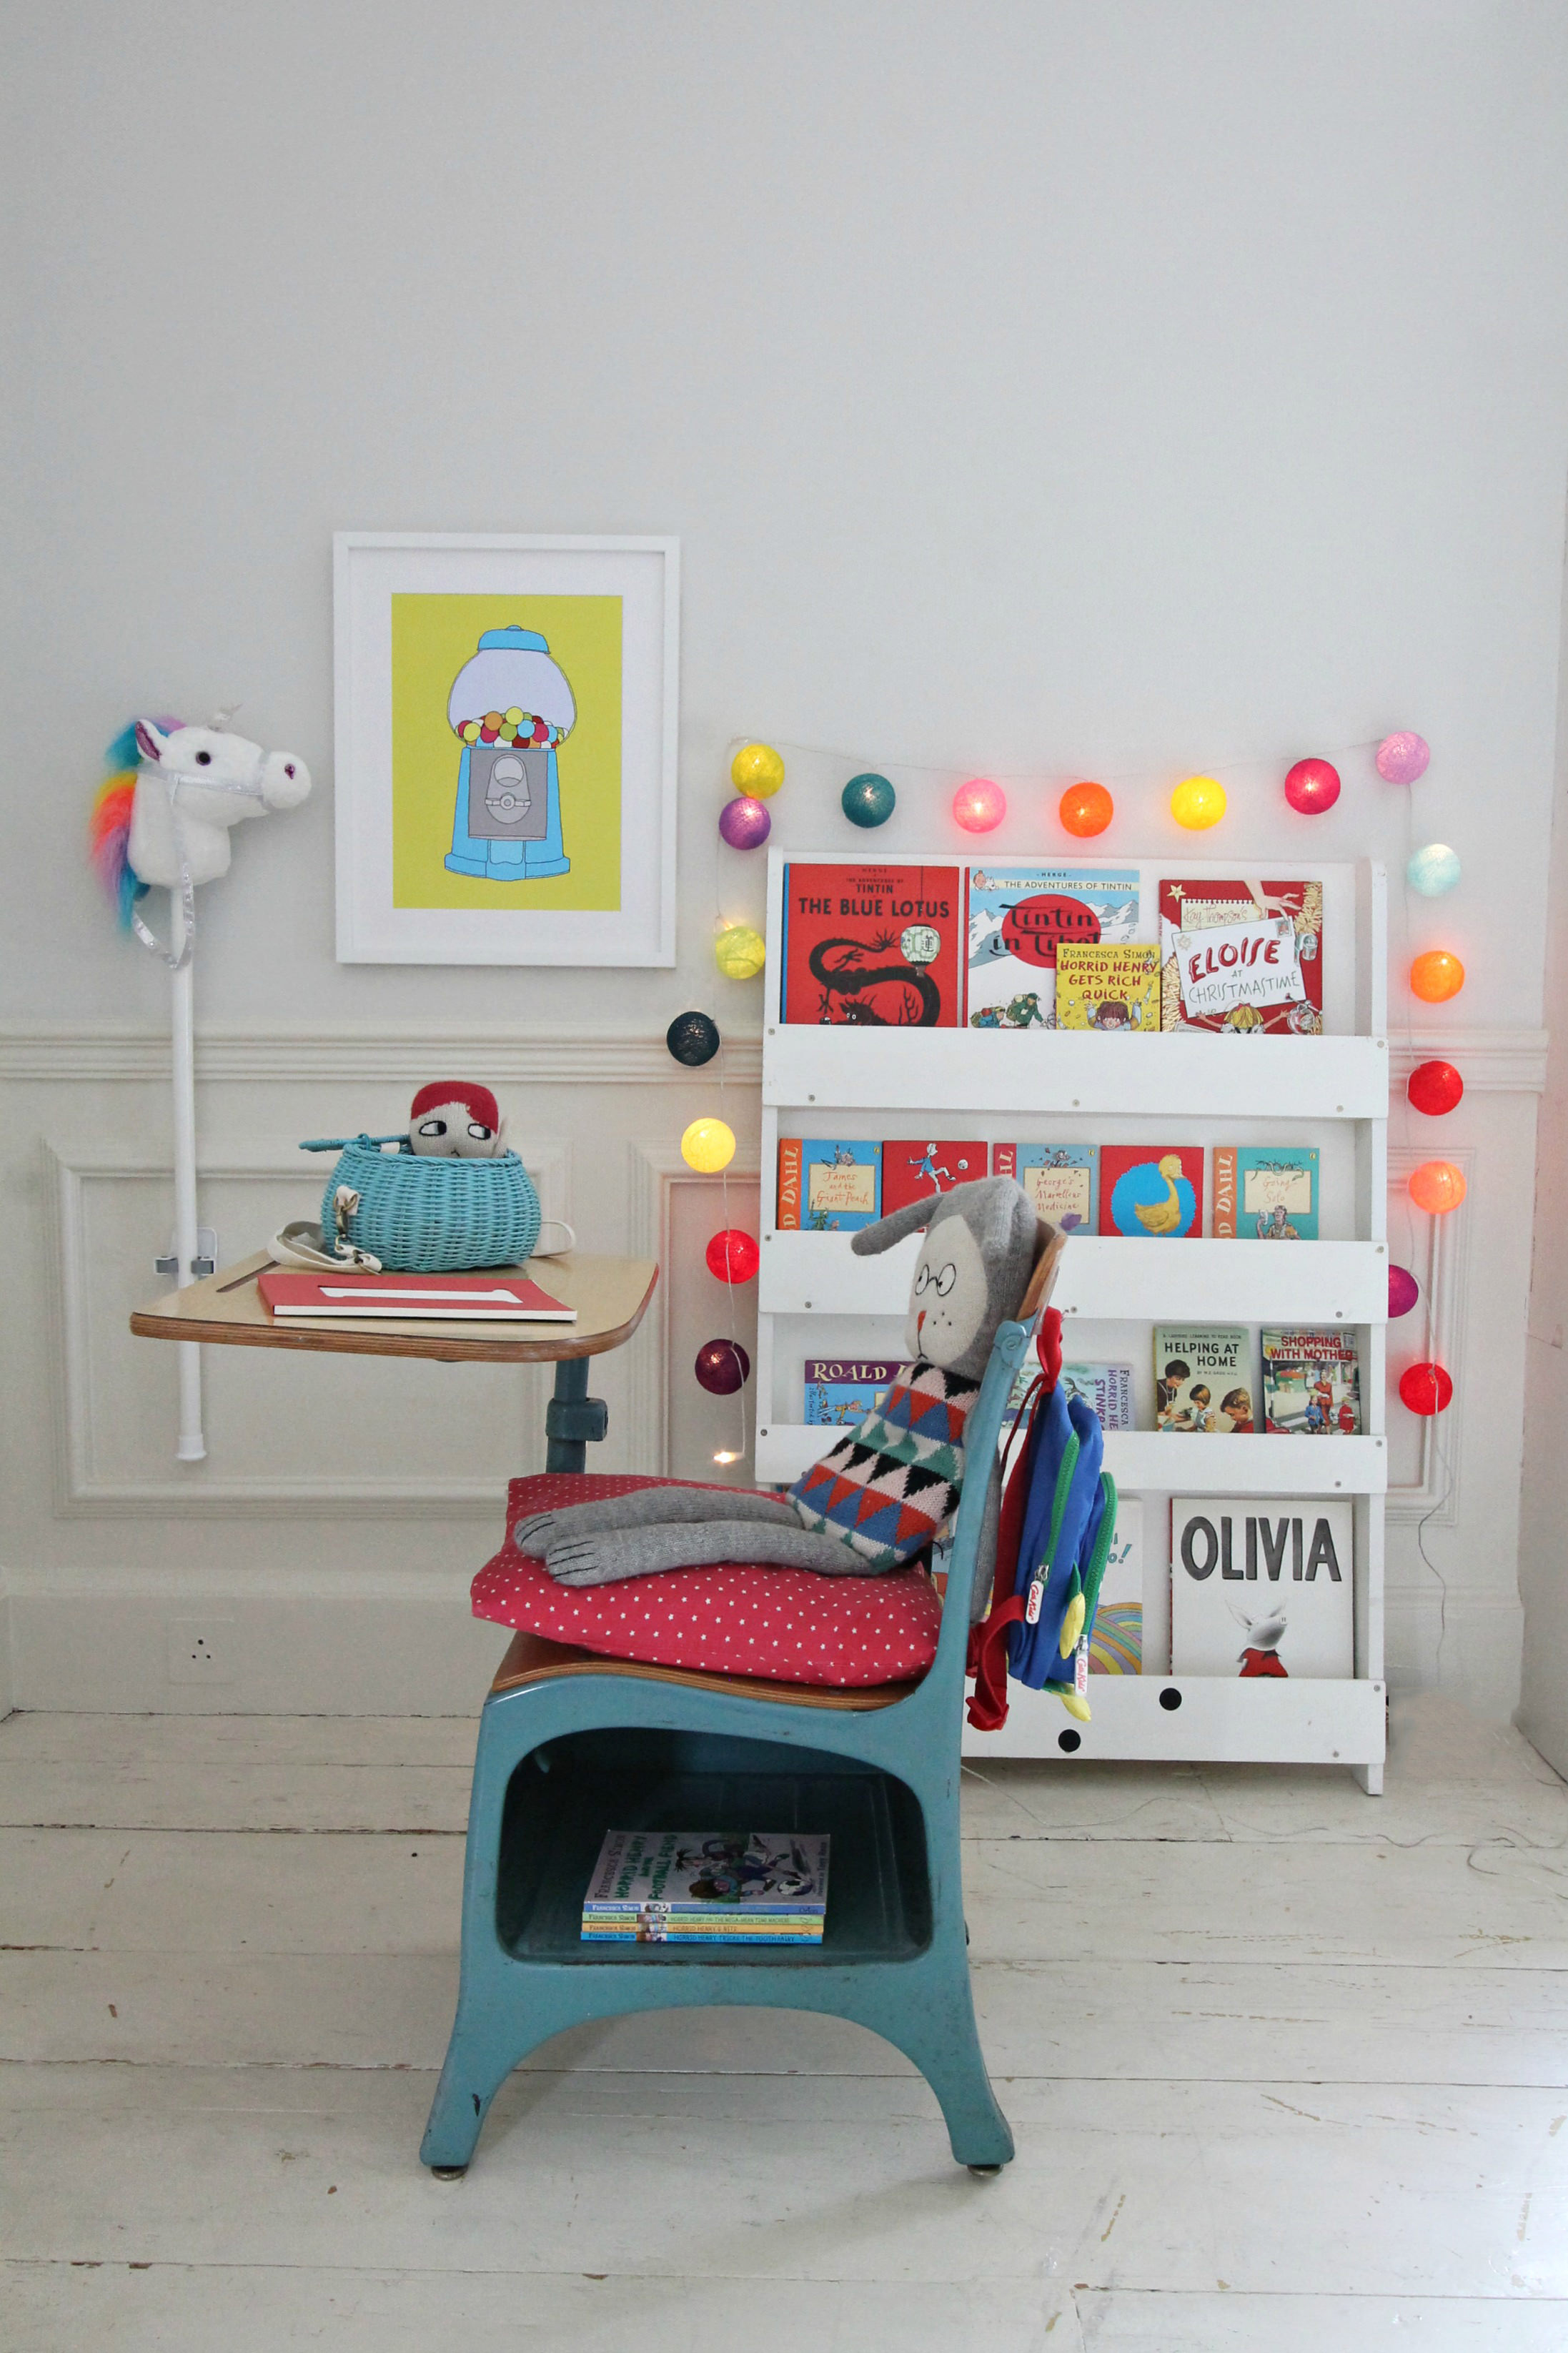 I love it that I don’t need a hammer or nails to put up the art prints, and even better, there will never be any unsightly holes left on the wall.
Command products can be used on painted walls, wood, glass, laminate or melamine furniture and more. All Command brand products have a similar adhesive method and are removed in the same way too.
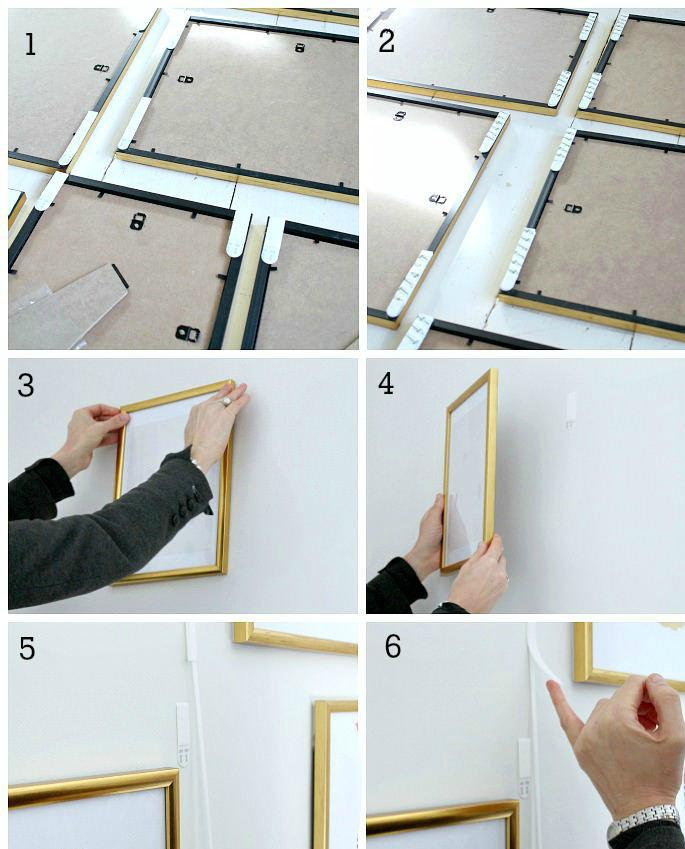 Here’s the step by step guide on how to use the Command strips to put up the gallery wall:
Image 1+2 : Separate the strips. You could either stick the first set of the strips to the backs of the frame by removing the green liners ( I have used a combination of medium and narrow strips here) then press a new set of strips on top of those strips already stuck on the frame. As you press, make sure the strips ‘click’ together.
Or you could start by pressing two strips together till they click and then sticking one side of the pair to the back of the picture frame.
Either of those ways work well.
Image 3 : Remove the remaining green liners and press the frame onto the wall. Press each side of the frame firmly against the wall for at least 30 seconds.
Image 4 : To ensure the adhesive will hold, remove the frame by grabbing the bottom corners and peeling the frame up and away from the wall. Do not pull straight off. Now, press the entire strips that have remained on the wall for at least another 30 seconds.
The most important point to note is that the strips need to be left on the wall for at least 1 hour before reattaching the frame.
Image 5+6 : All about removal of the strips.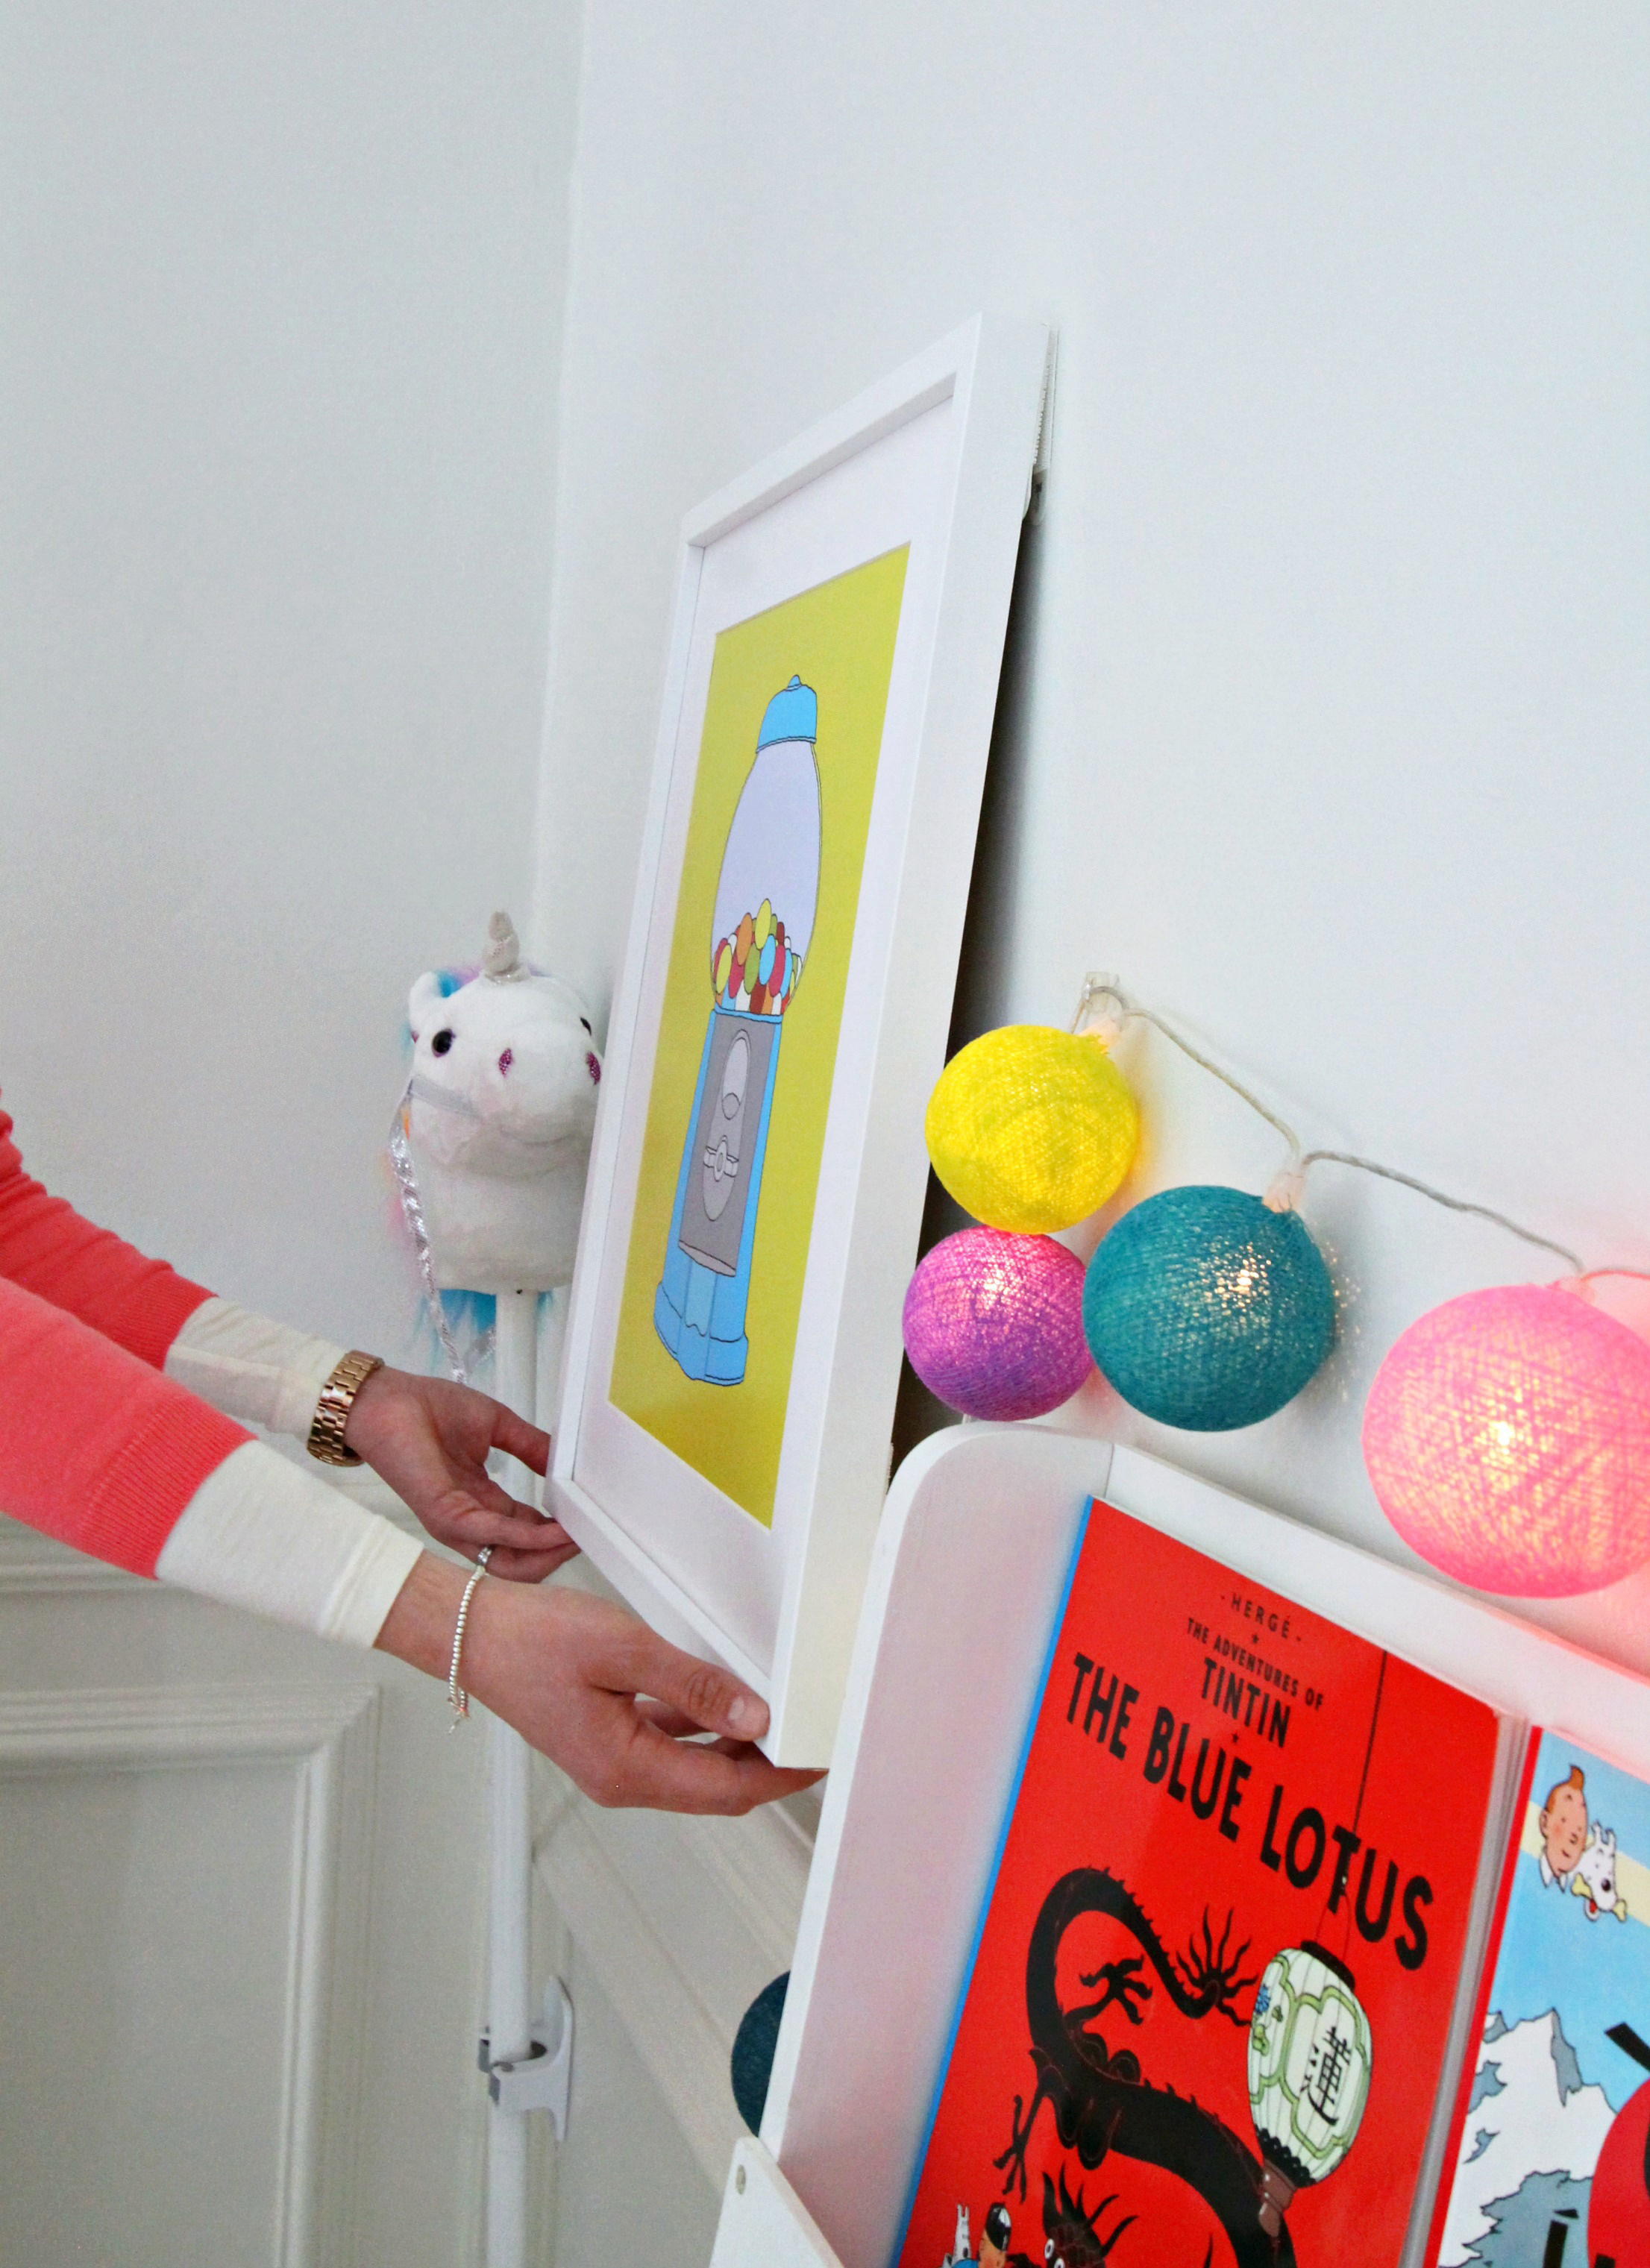 After removing the frame ( remember to remove by grabbing the bottom corners and peeling the frame up and away from the wall rather than pulling straight off), you can then remove the strips.
Never pull the strips towards you or peel from the wall.
Always pull the strip straight down, keeping your hand against the wall as you go.
Keep stretching up to 15 inches and the strip will just naturally pop off. The last image shows you what is happening behind the strip.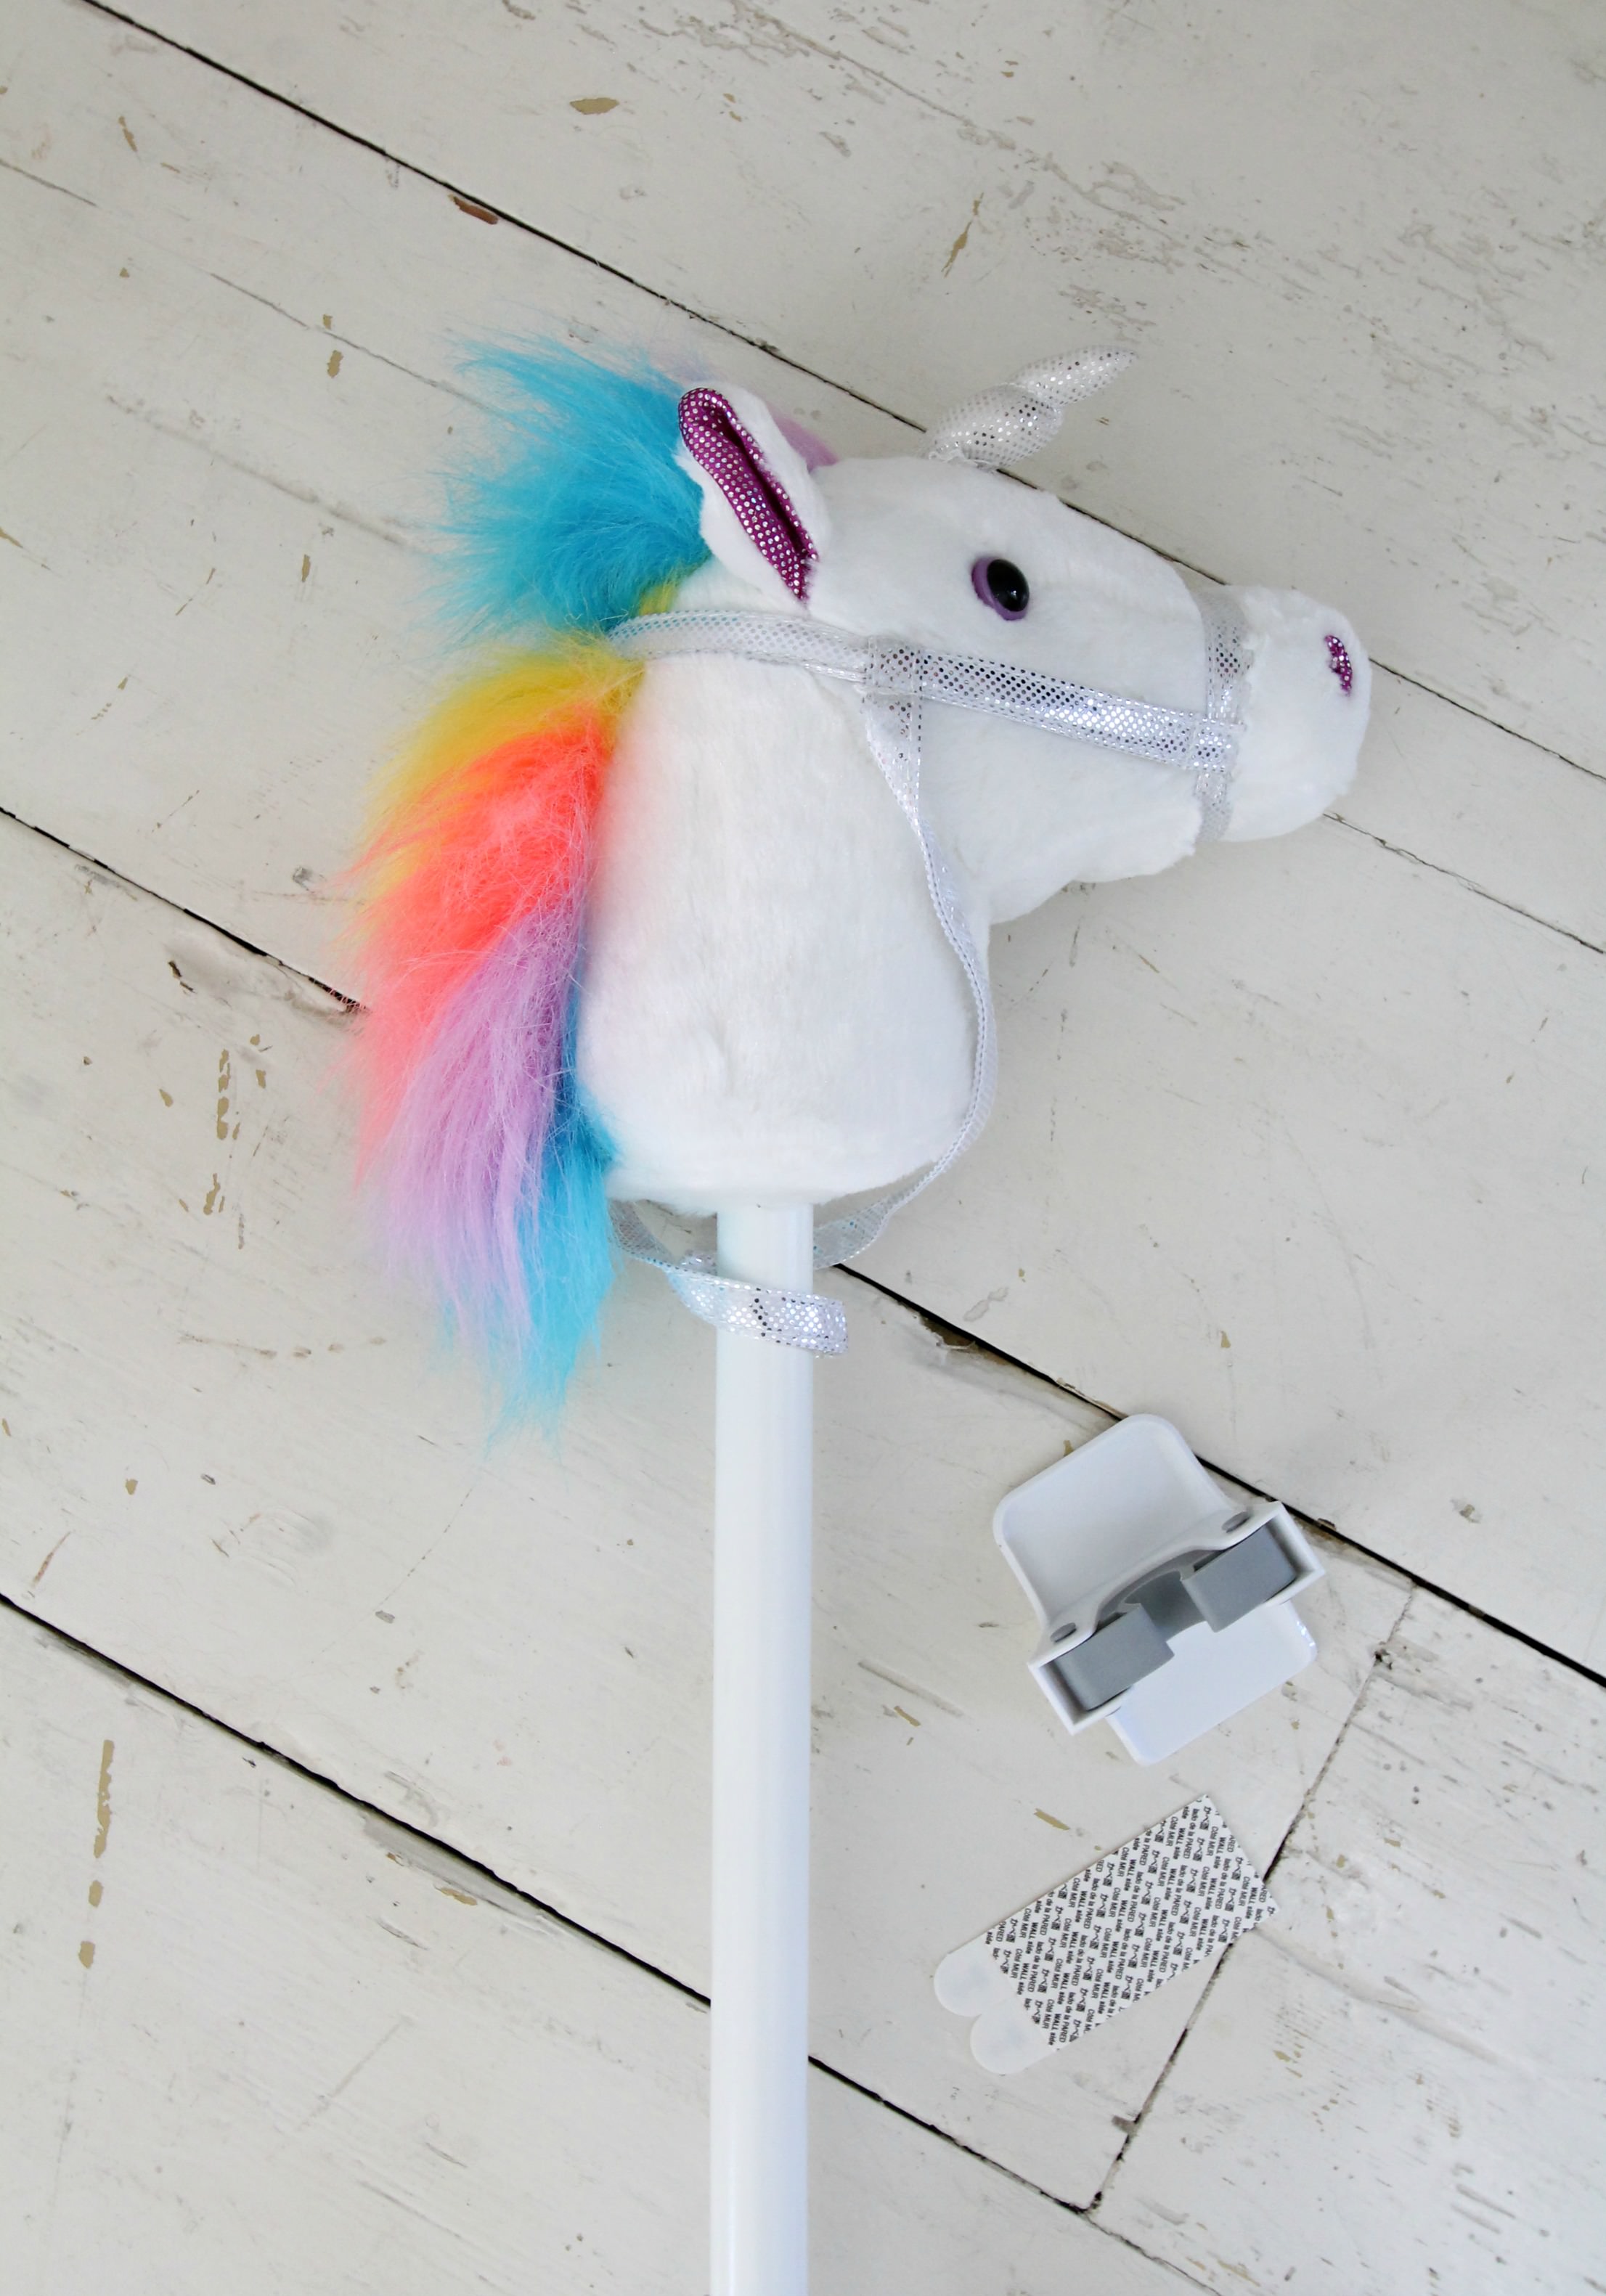 I was also excited to learn that Command now has a new product on the market called the Broom Gripper.
 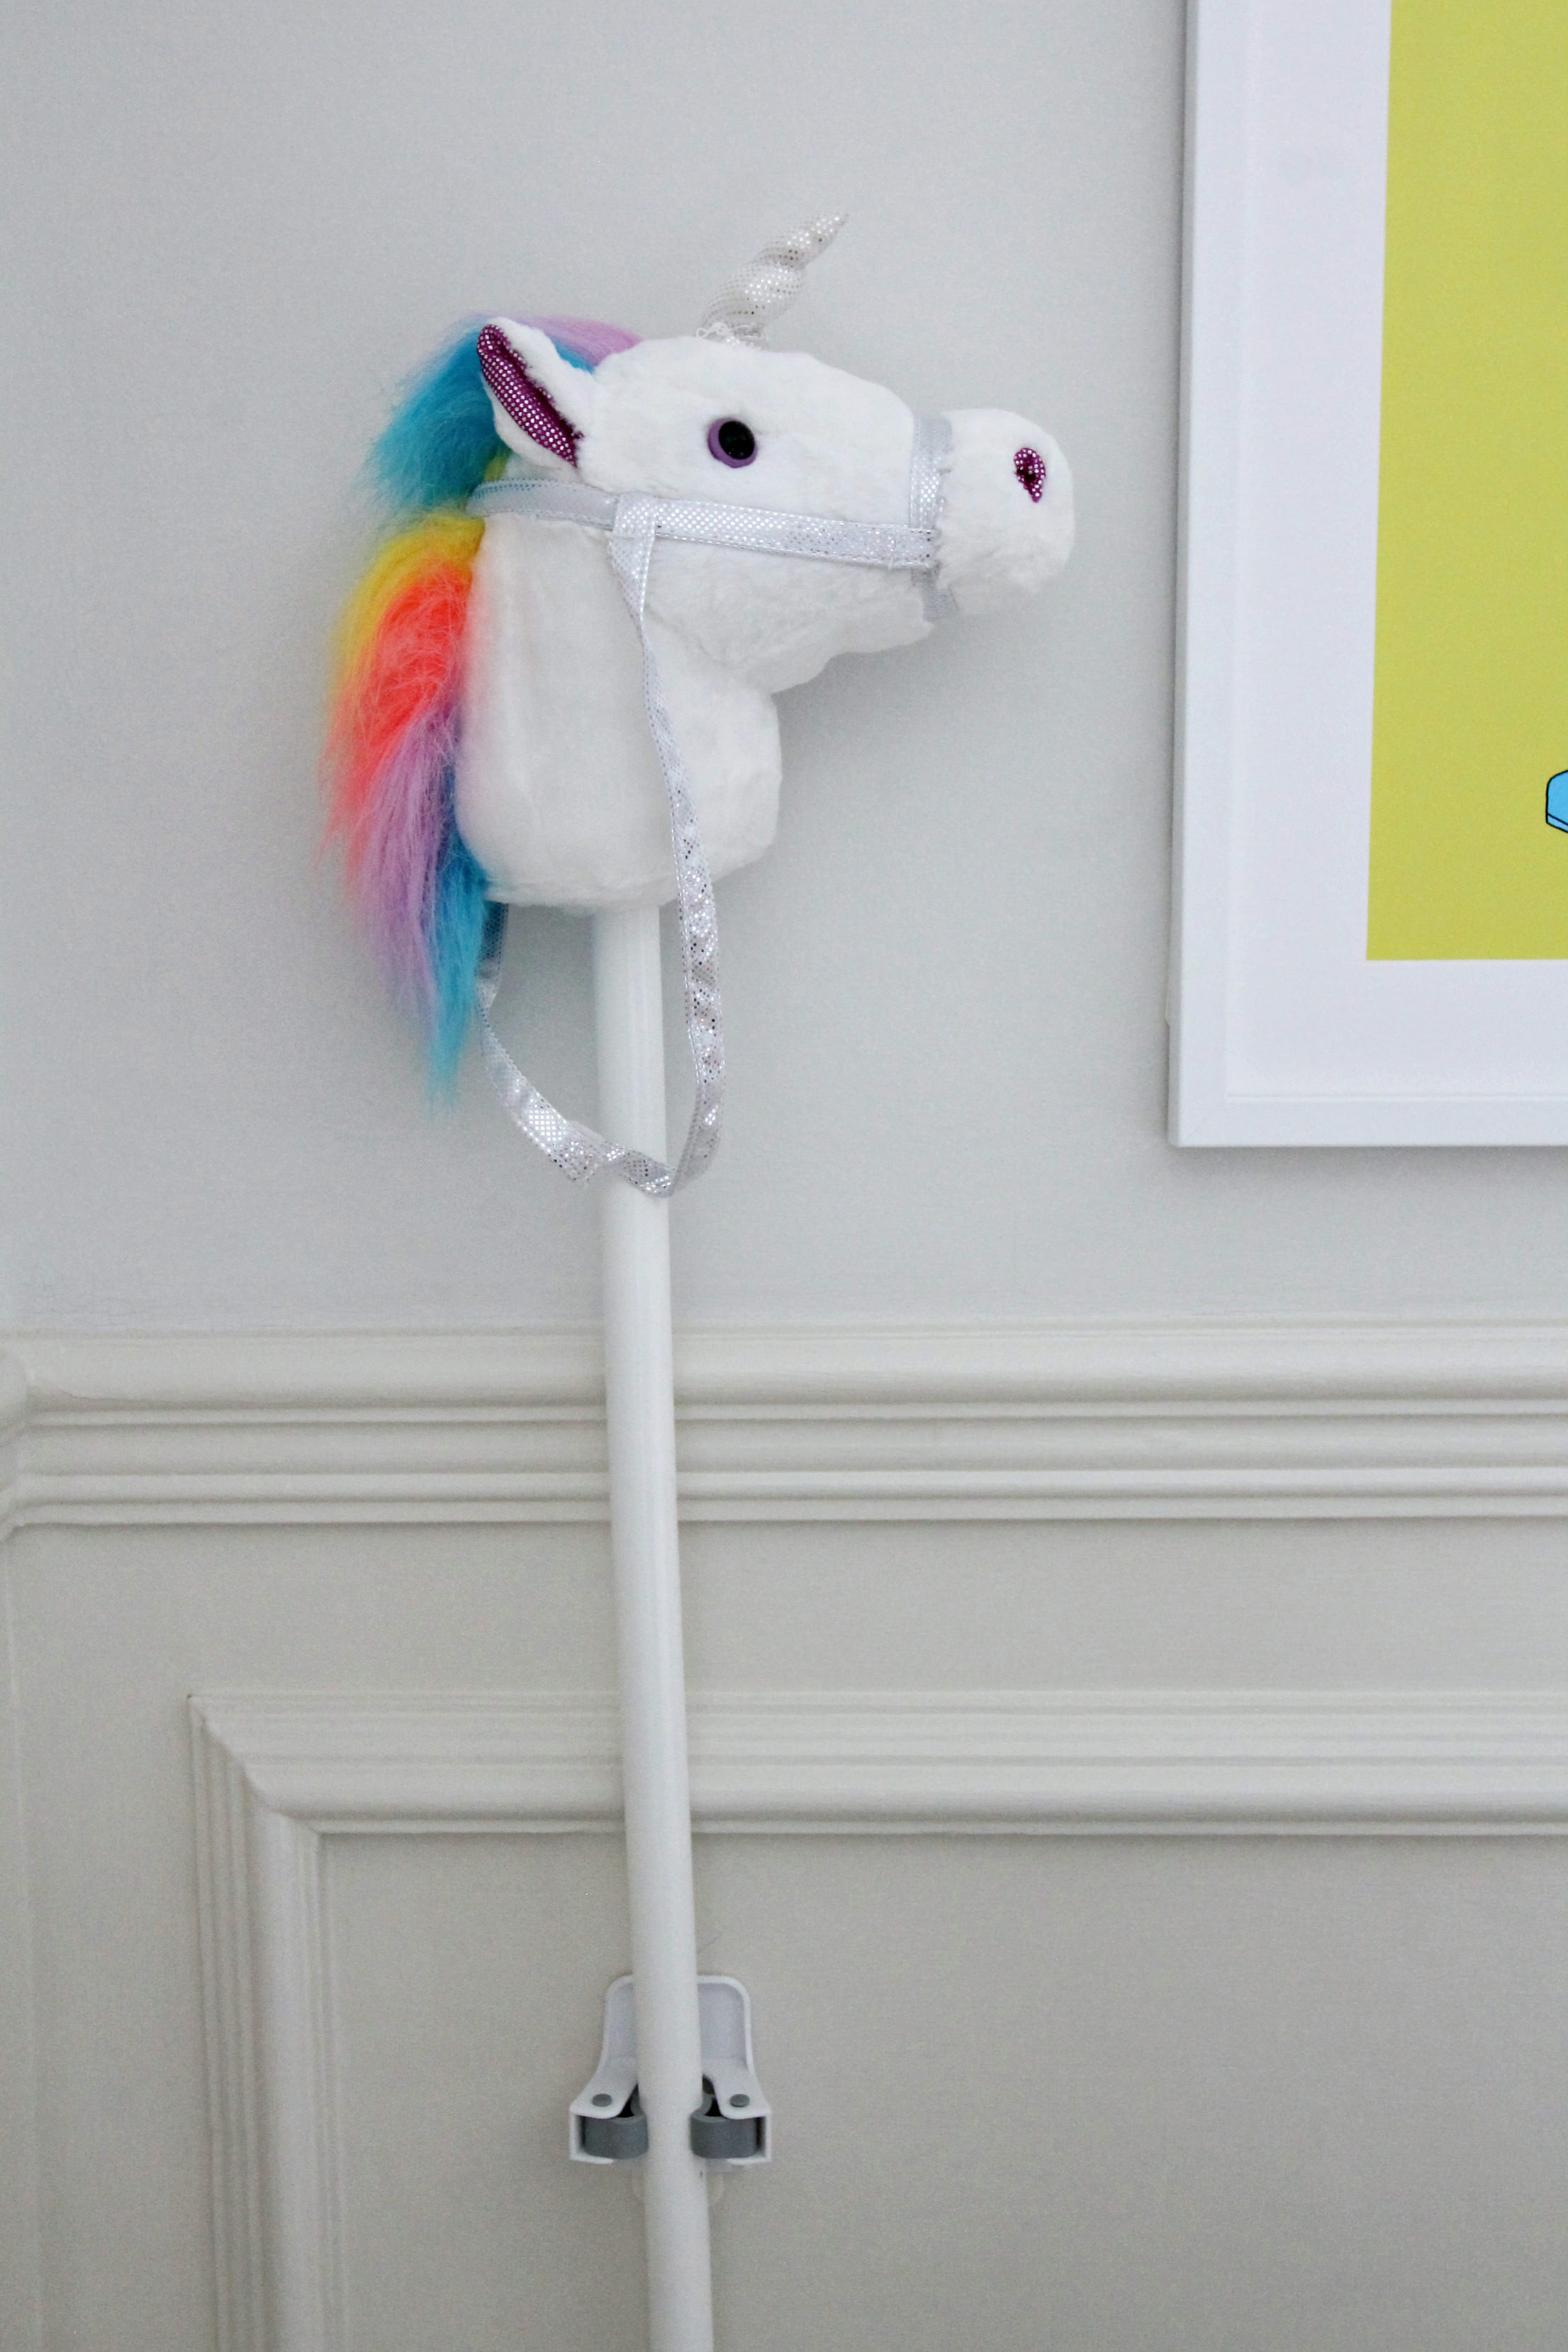 I’ve used the Broom Gripper to hold up a toy hobby horse in my child’s reading corner.
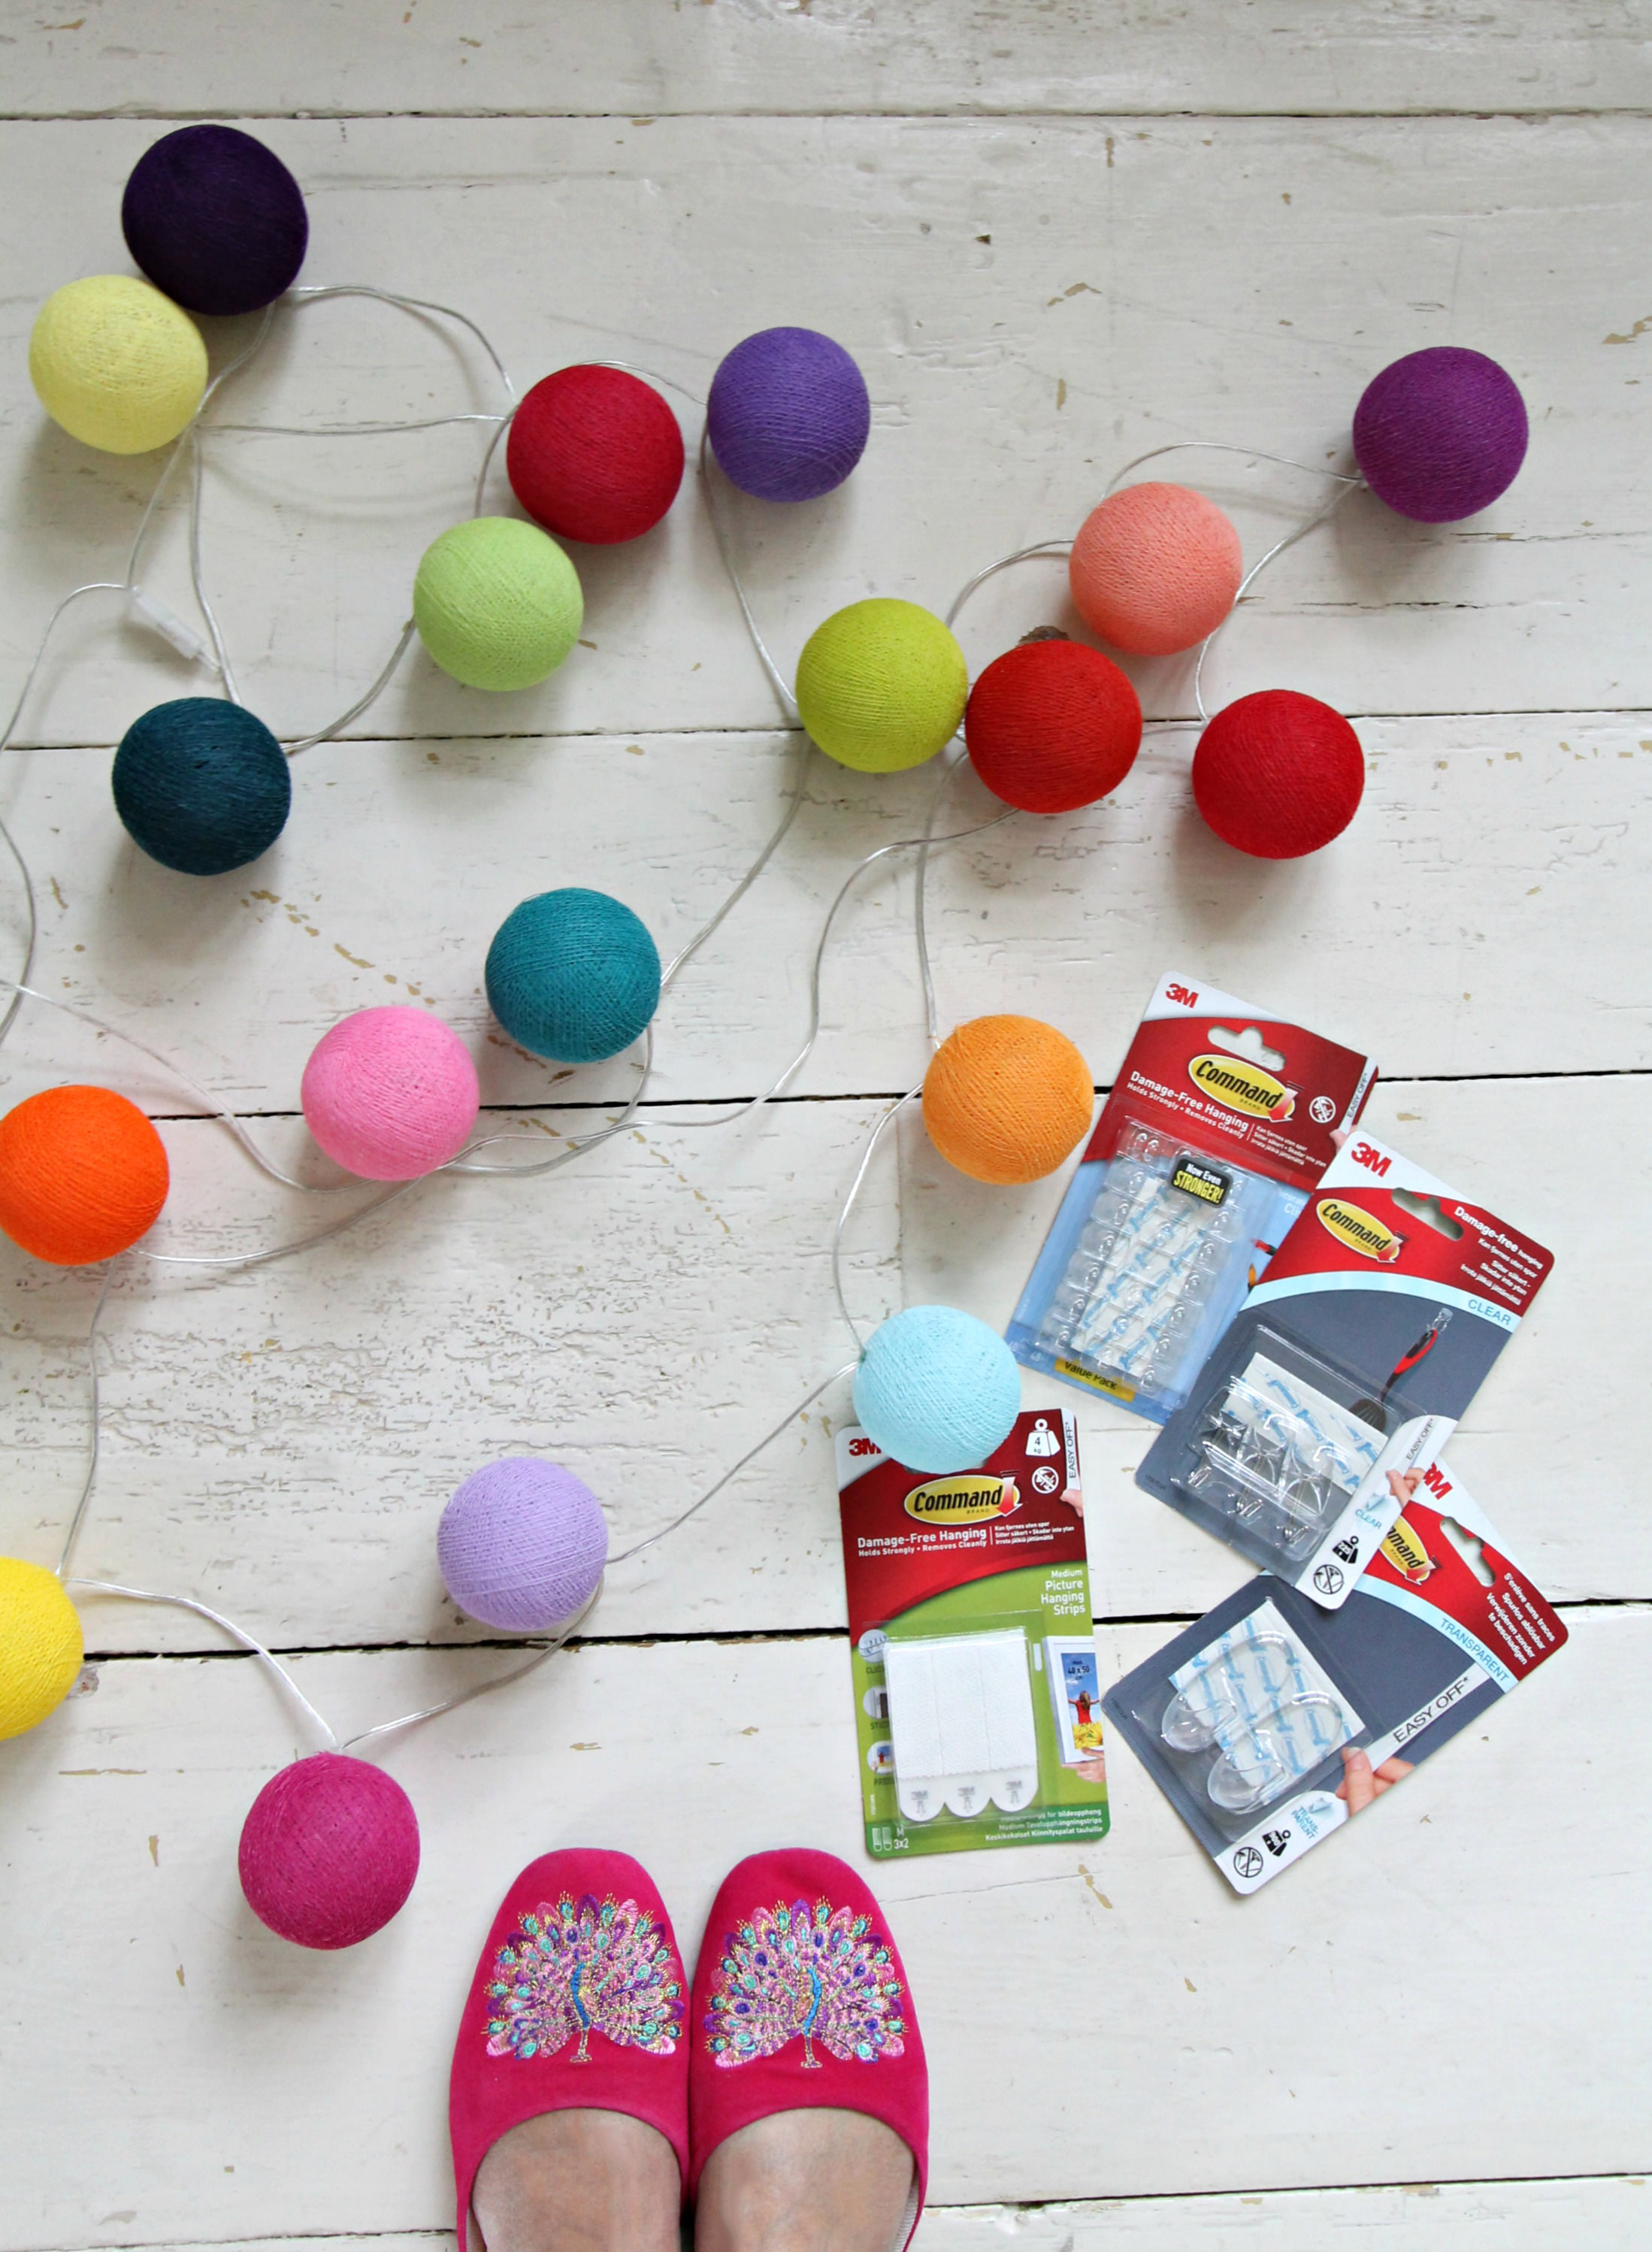
The Command Broom Gripper is a great idea for keeping the kitchen and utility room tidy. There’ll be no more of tripping over brooms on floors.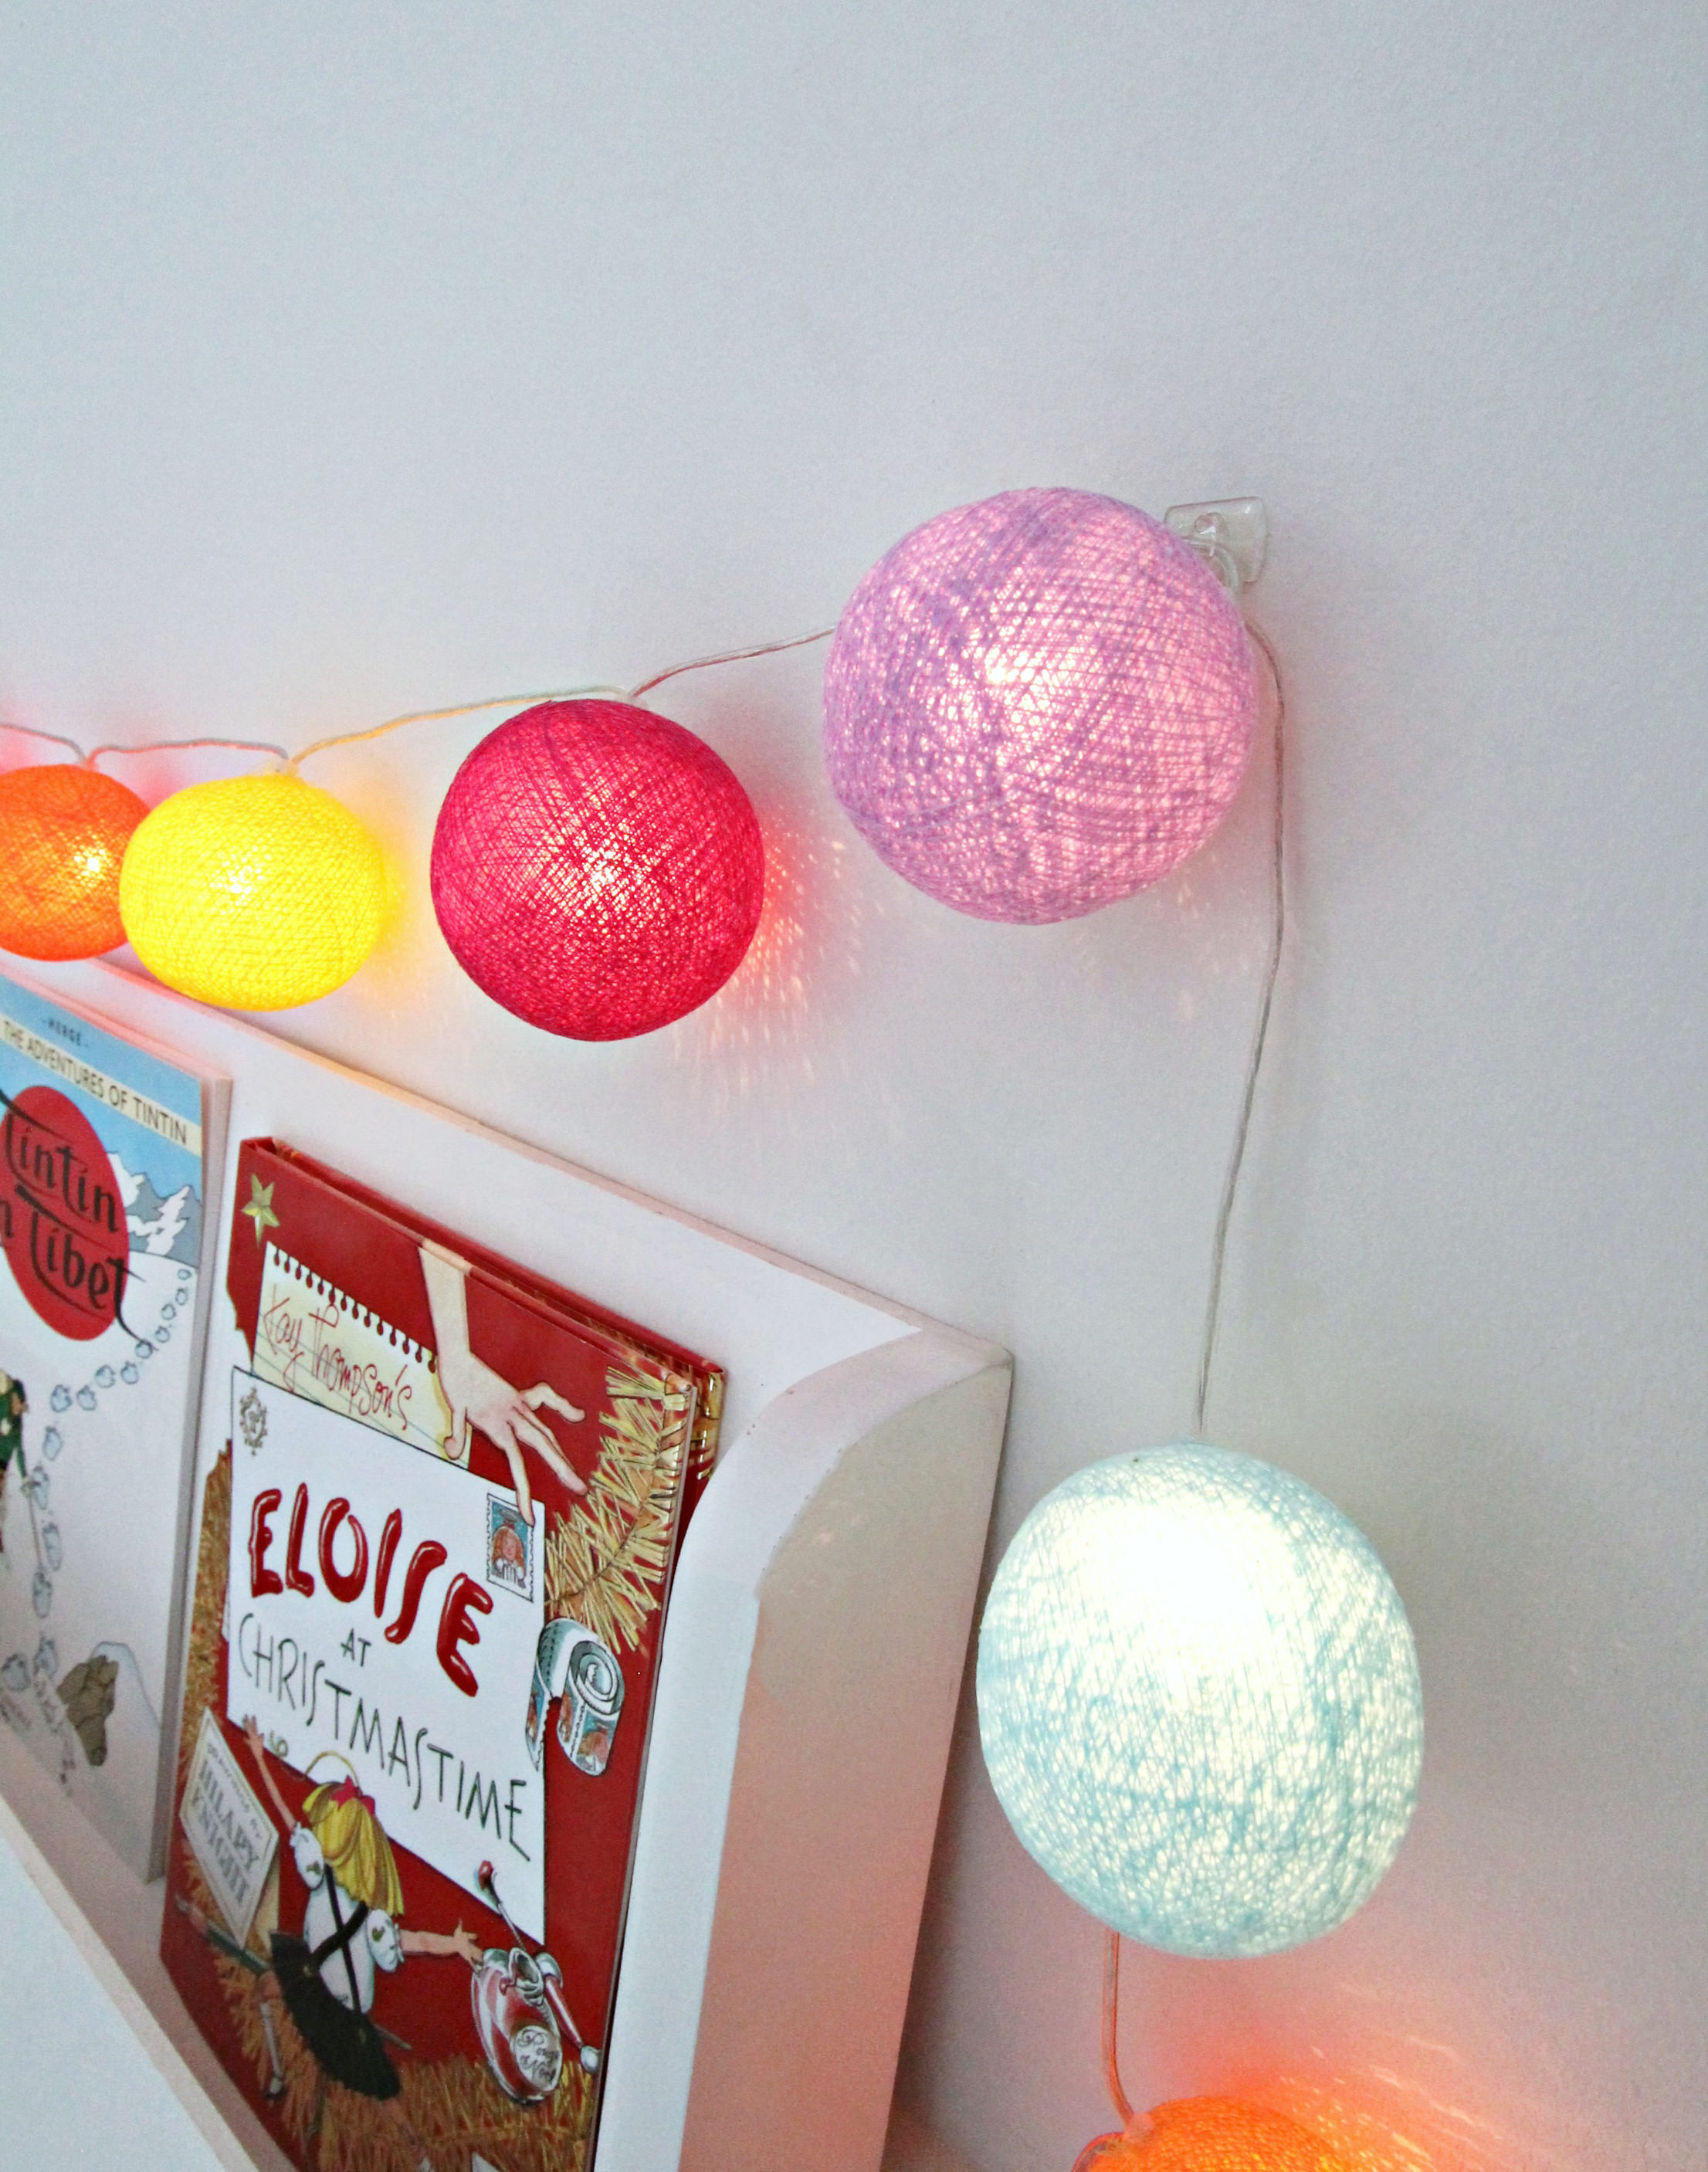 To add a punch of colour to the reading corner, I’ve decided to drape a string of colourful lantern ball lights around the book shelf.
To stop the string lights from sliding, I’ve used Command Clear Decorating Clips to hold them in place.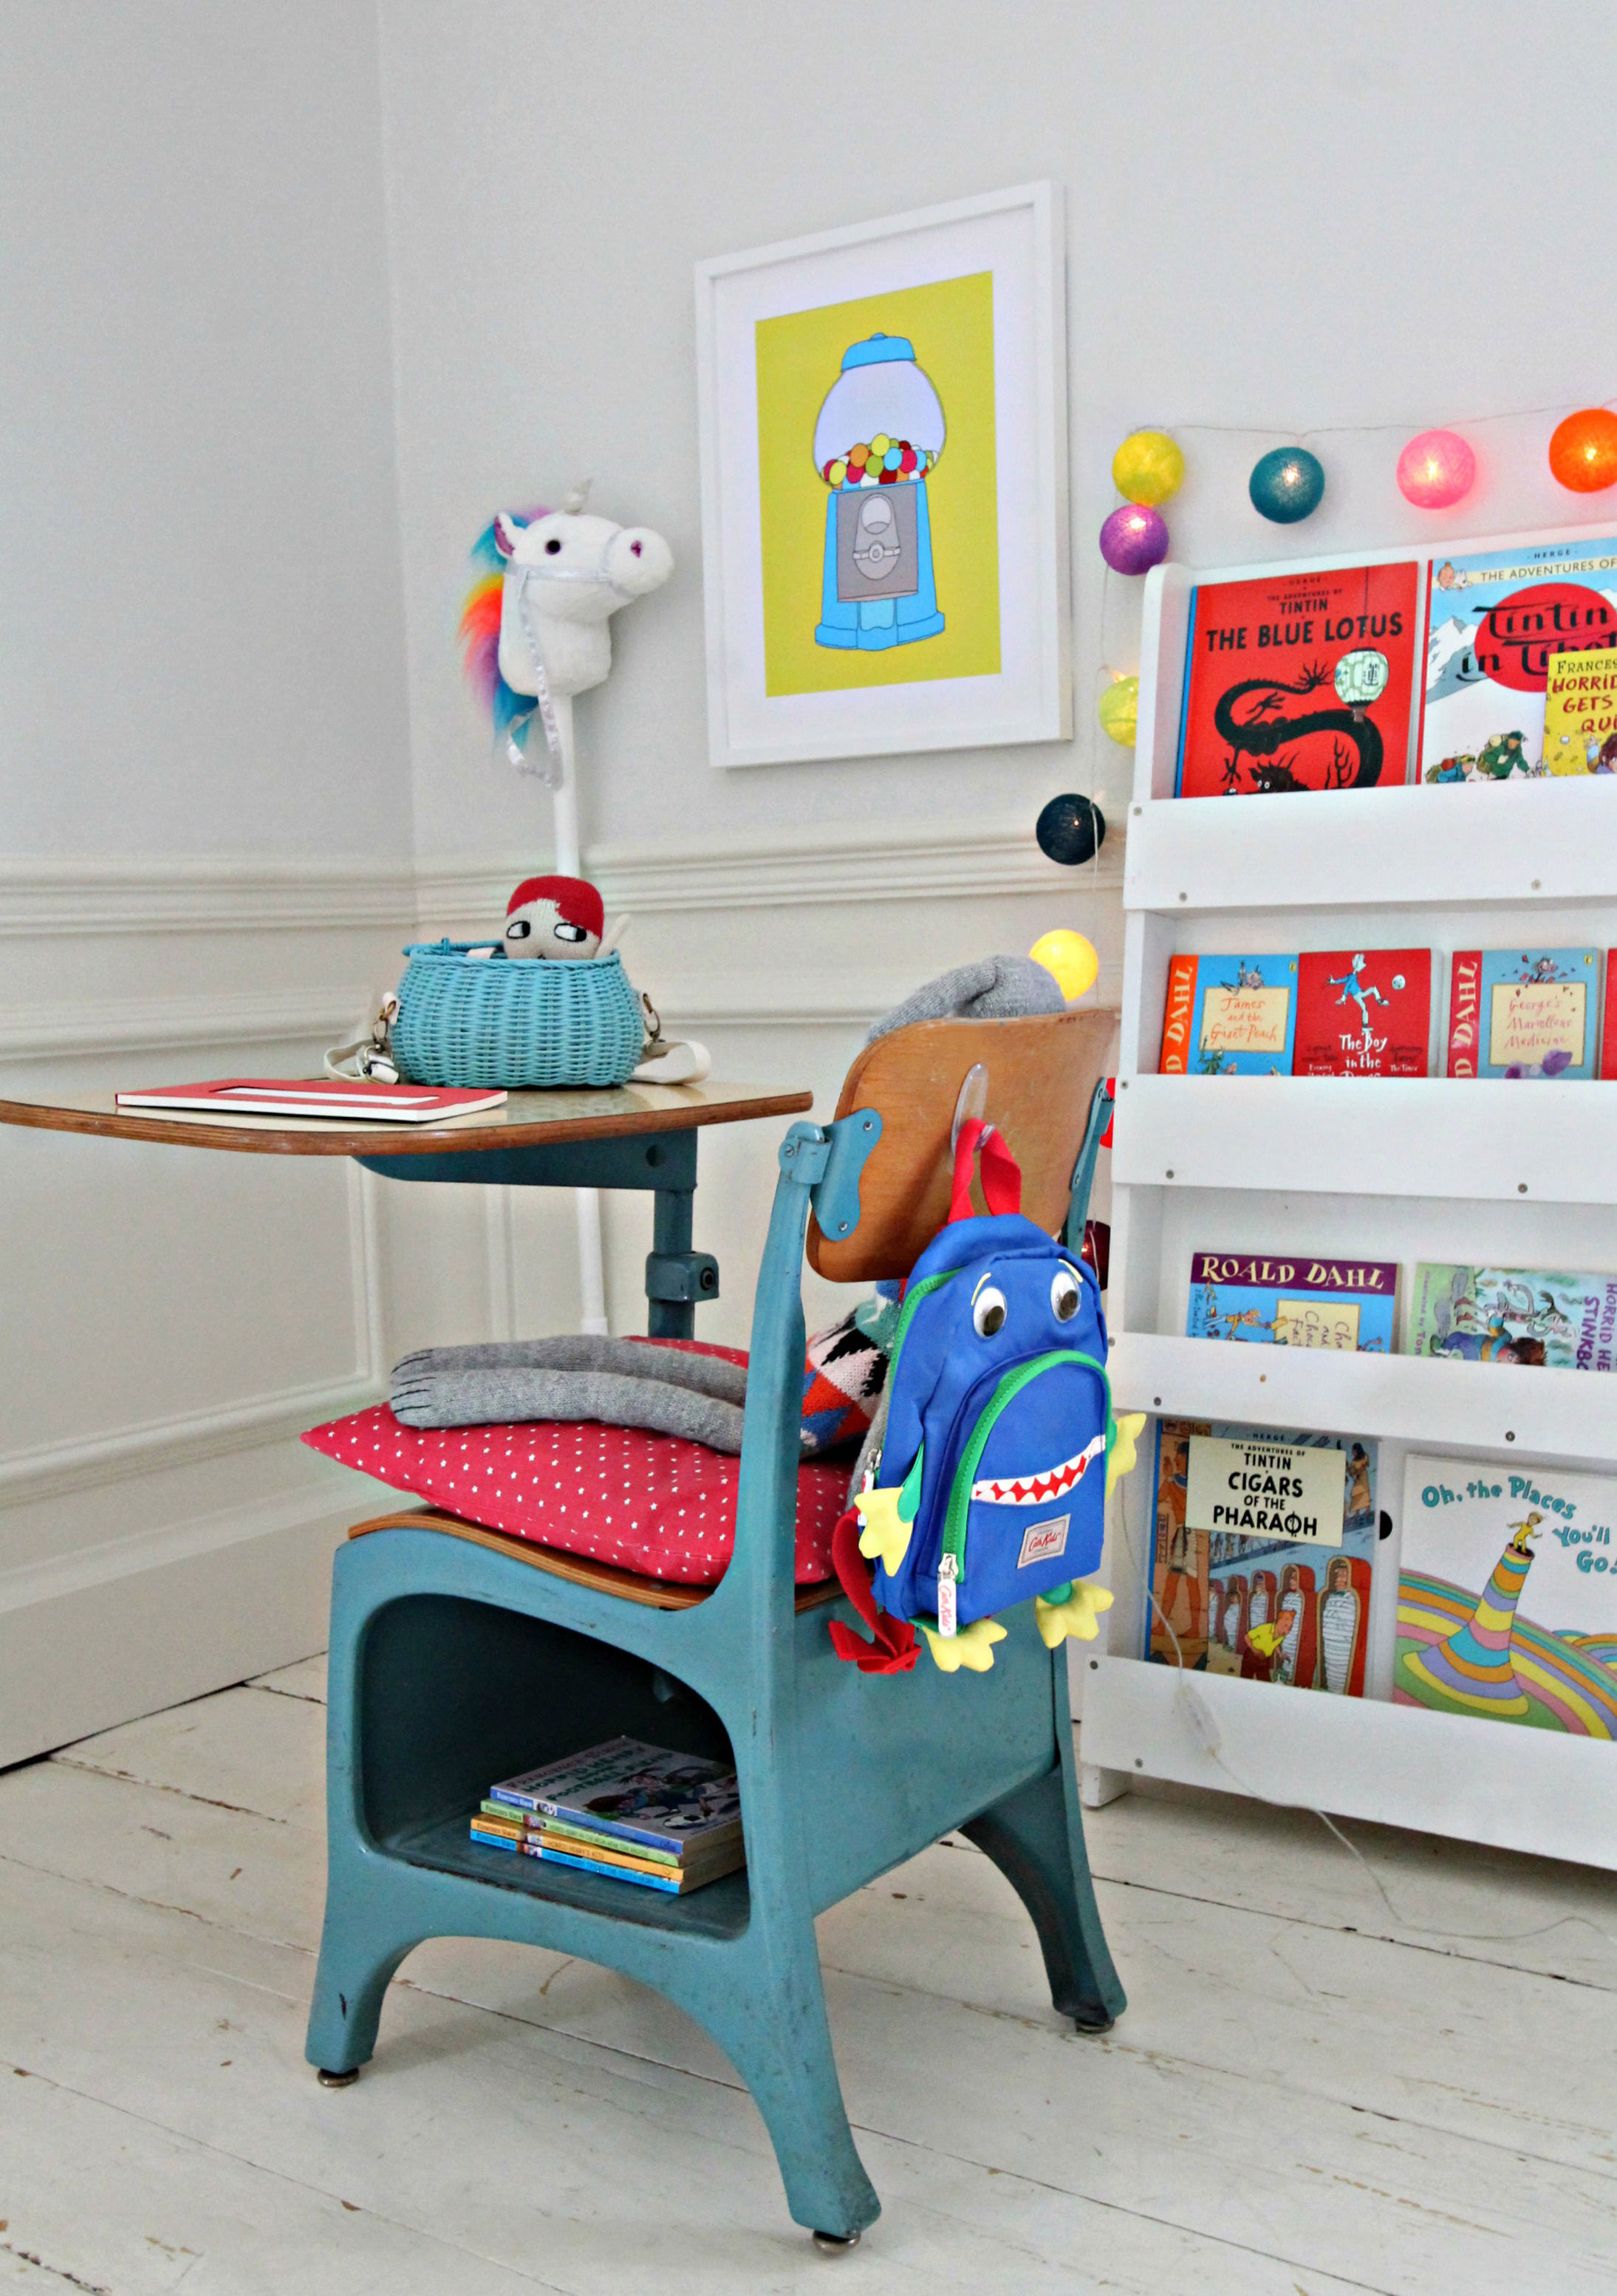 However, Command aren’t just for walls. I’ve also used a Medium Clear Hook to hold up a mini rucksack at the back of this wooden chair.
These hooks are great for hanging up coats behind doors. So there you have it, my kid’s reading nook. How do you like it? My cute Gumball sweets art print is by James Taylor Photo Art.
 I love how easy it is to style and put things up without damaging the walls with holes.
I will be back with another styling in this very same corner, using more Command products soon. Can’t wait to show you. Have a lovely week.
( All photography and styling are by Geraldine Tan, editor of Little Big Bell. this is a sponsored collaboration with Command).

I used to use Command strips when I was renting. And now that I have my own house I still use them. Finally, a non-invasive solution to hang stuff on the walls. By the way, I love the styling of the nook!
Thanks Juan. I can’t live without my Command strips too. It’s amazing to have no unsightly holes in the walls.
Pingback: Upholsterer in London. My collaboration with Sharp & Simpson |